Contact
Andreas Gaunitz email Phone (Sweden) +46708667601
Andreas Gaunitz email Phone (Sweden) +46708667601
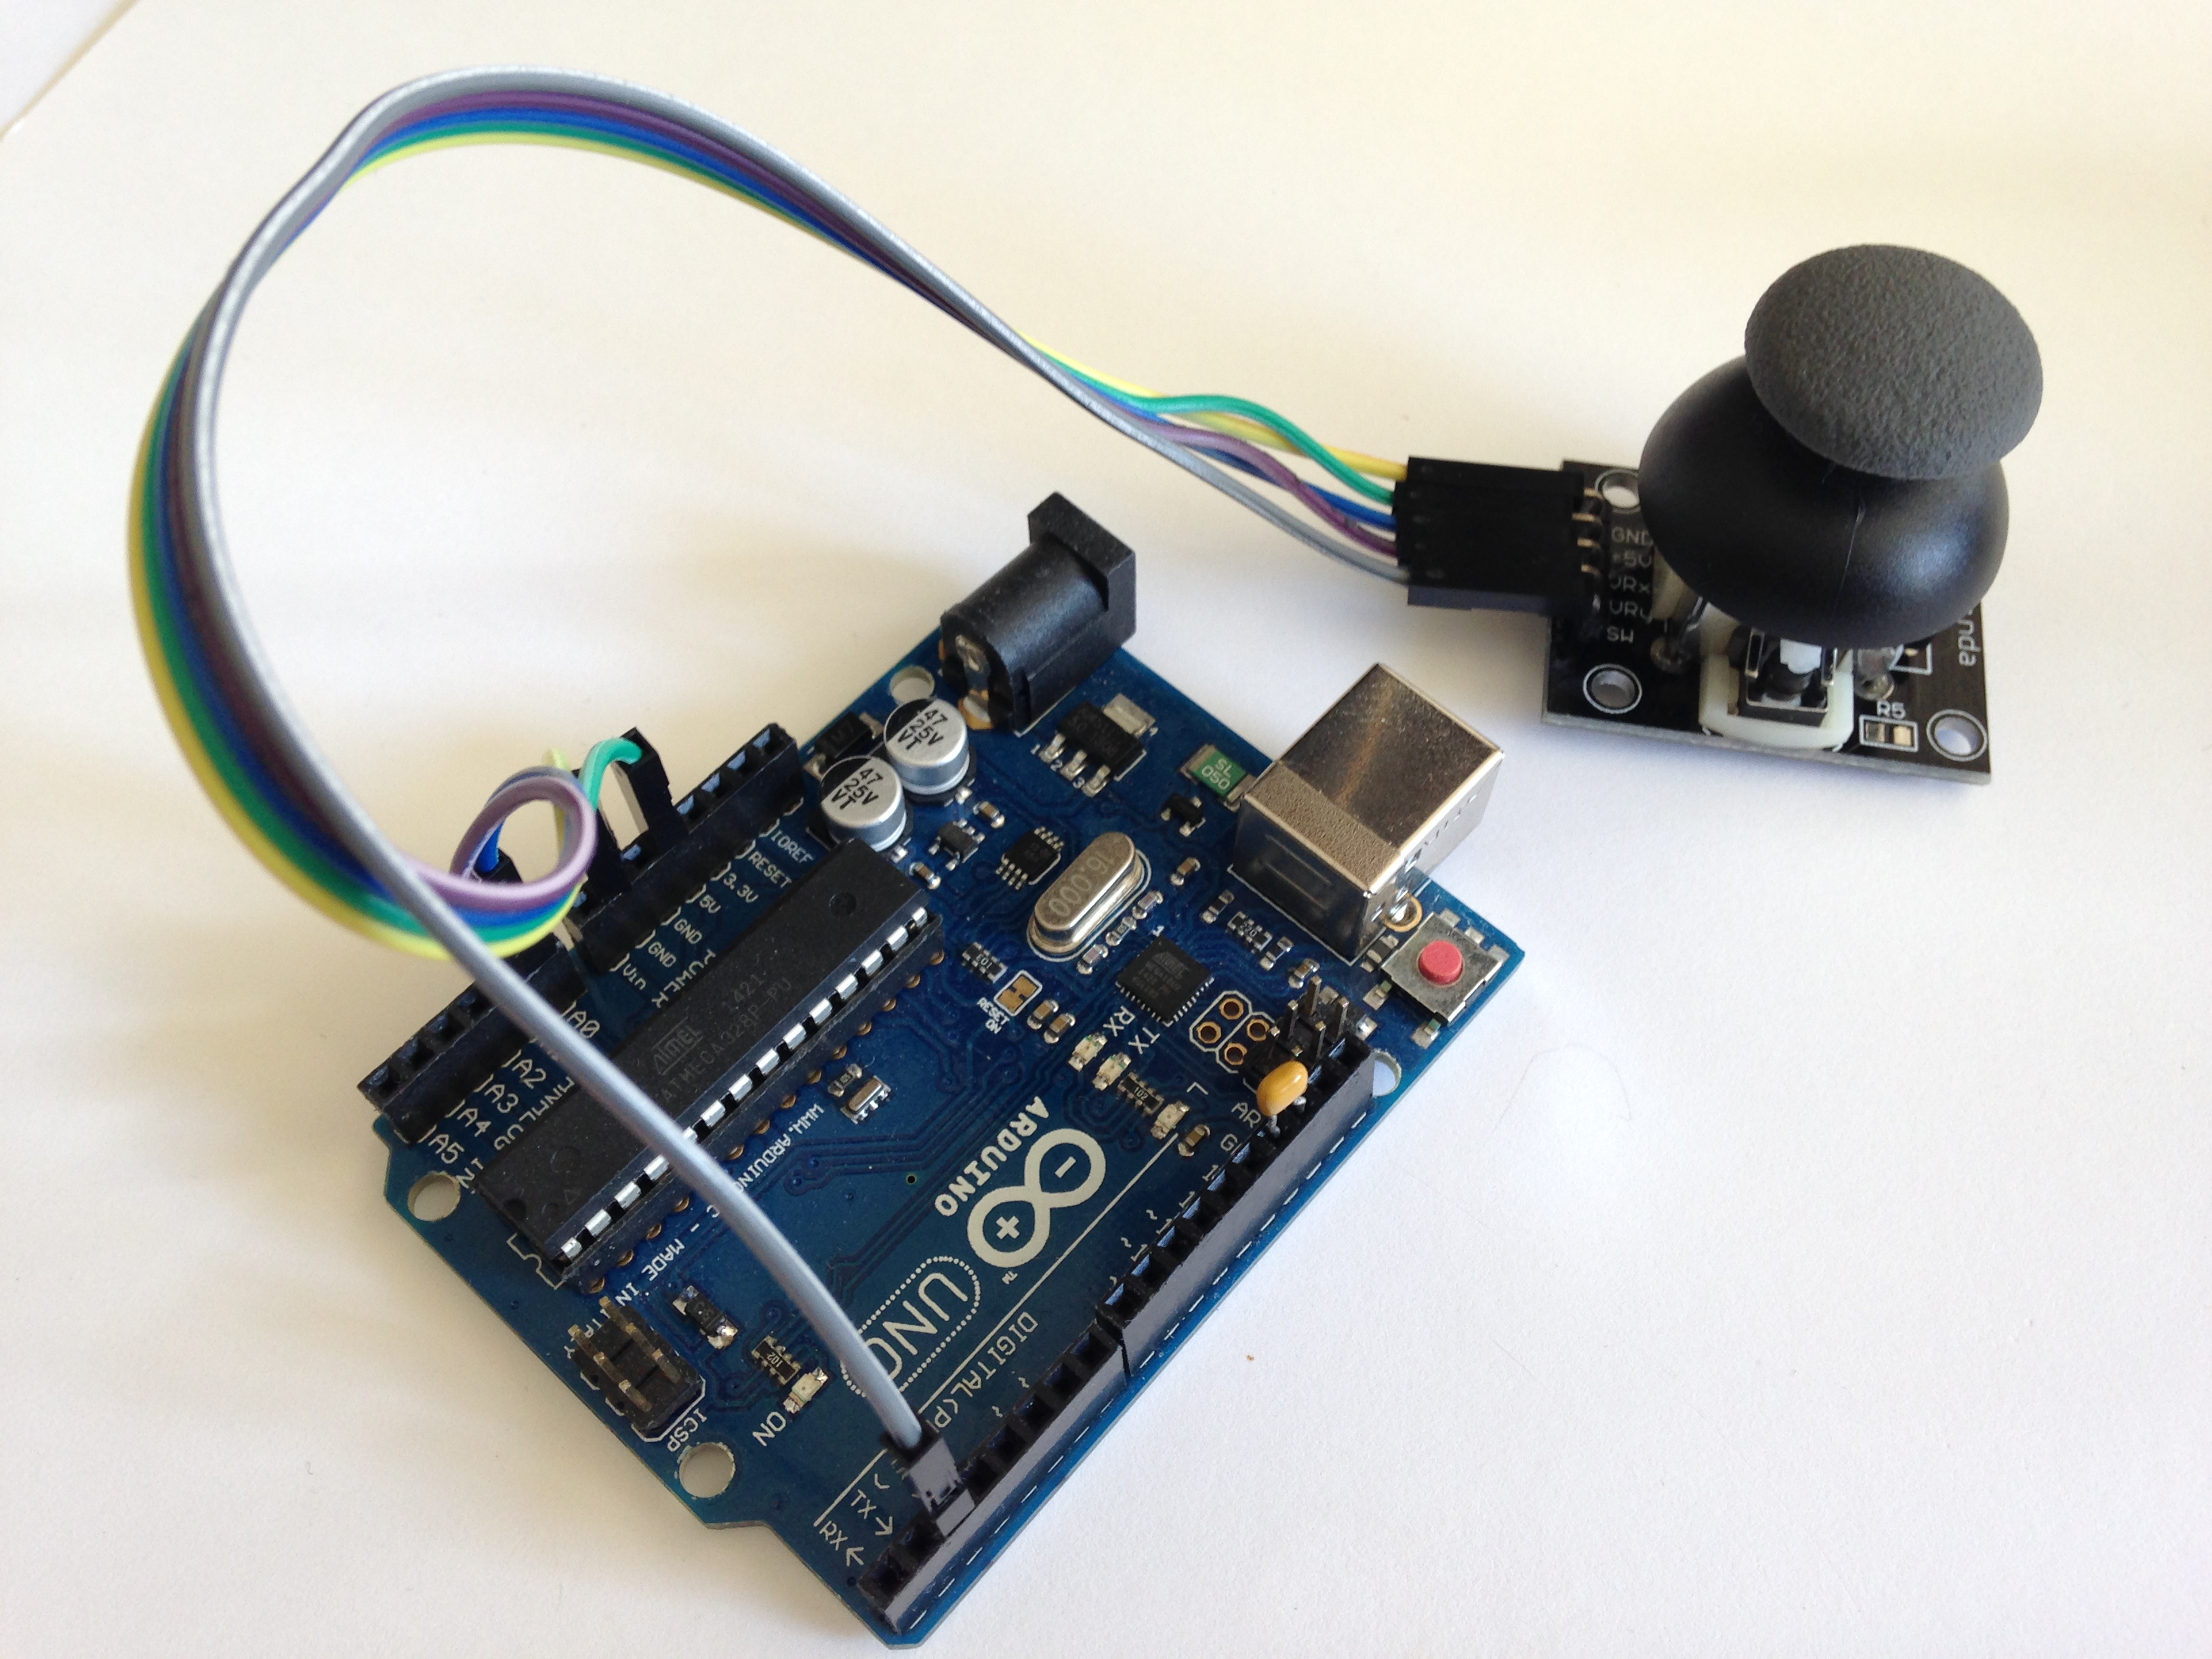
Connect an analog joystick to an Arduino. Read two analog values (x- and y-position) and a switch using a method witch does not hog the processor during the whole ADConversion. The capacitor reduces digital noise on the analog readings. Code static const byte ADC_CHANNEL_JOYSTICK_X = 0; static const byte ADC_CHANNEL_JOYSTICK_Y = 1; static const byte ADC_CHANNEL_MAX = 2; […]

Limit the current flow through the LED with a small resistor R1, ca 200~1000Ω. Otherwise the LED will burn. The LED can be connected in a few ways. • Either the Arduino pin (pin 13 in this case) SOURCES 5v to the LED: the LED’s + pin is connected to the Arduino pin. The LED’s – pin is connected to GND. • Or the Arduino […]
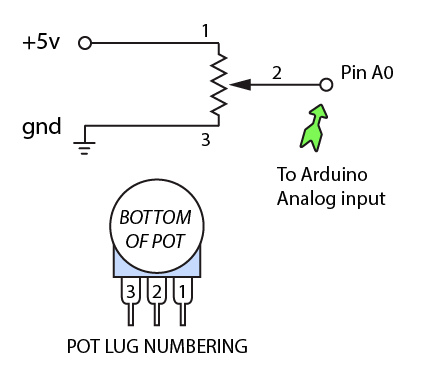
The USB connection is used for serial communication between Arduino and computer. The potentiometer pin 2 is connected to Arduino pin A0. analogRead is then used to measure the voltage at the pin. (The potentiometer rating doesn’t matter, but avoid lower resistances than 5k, so you don’t get an uneconomically high current flow.) You will get a value between 0 and 1023 (where 0 equals ground […]
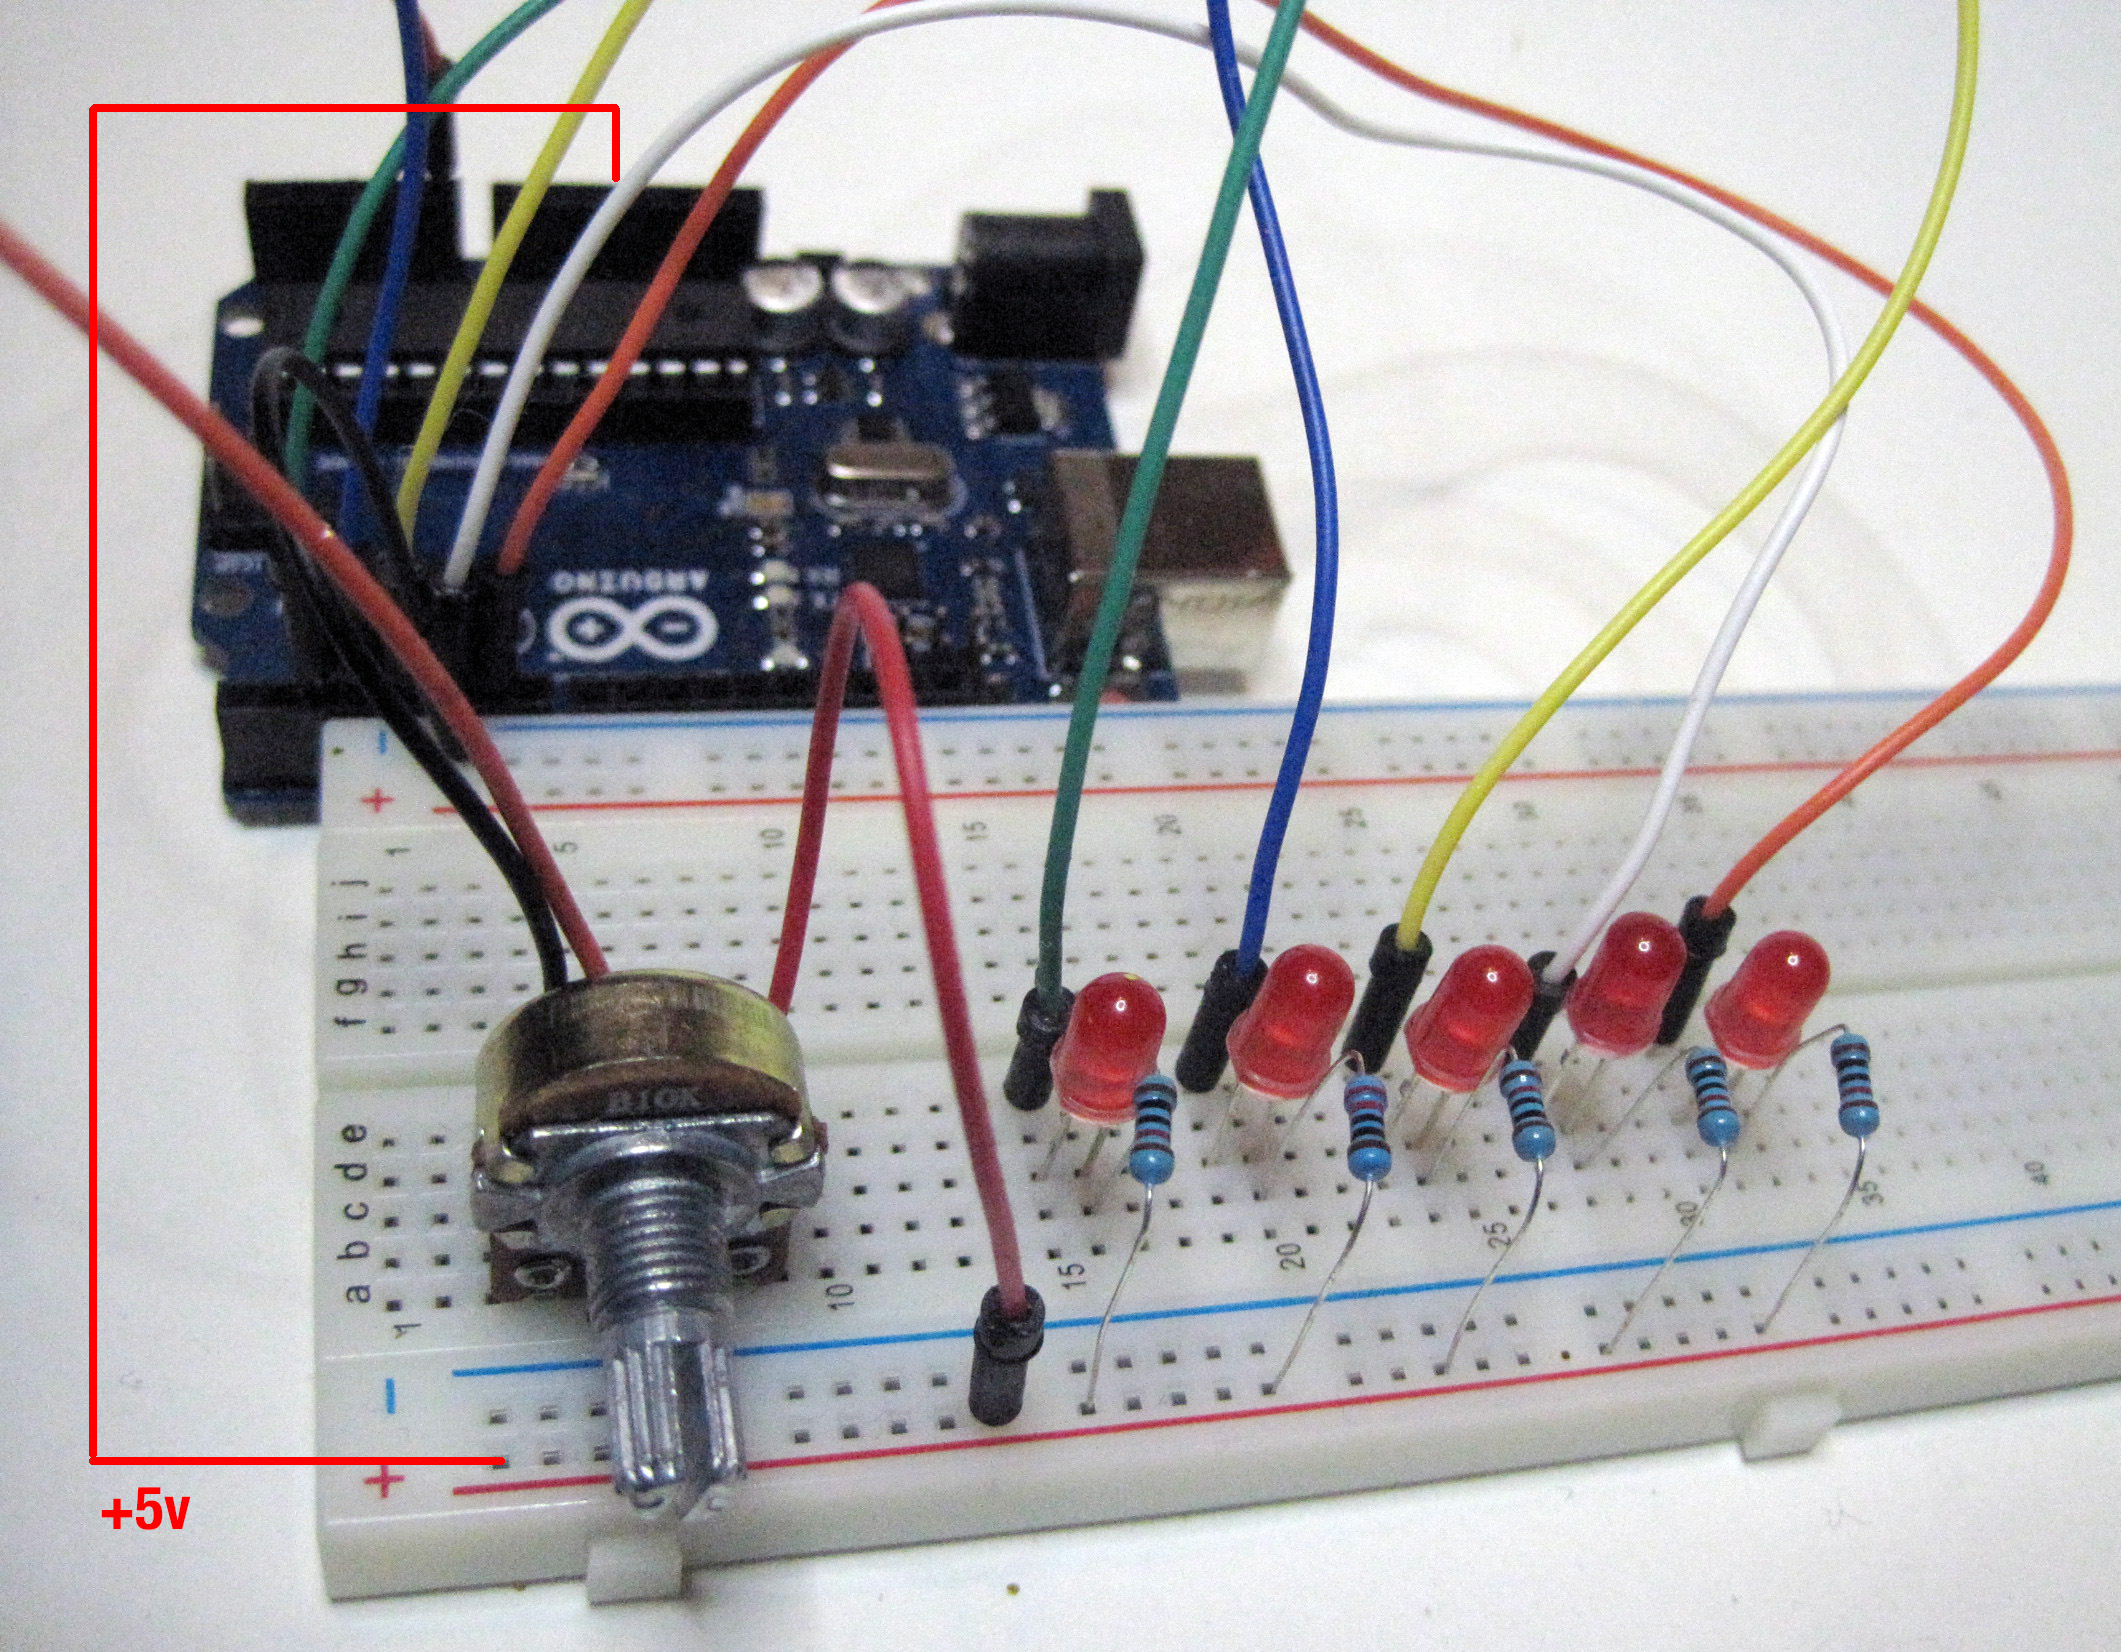
The pot controls which LED is turned on. The pot is connected to Arduino pin A0. analogRead is used to measure the voltage at A0. You will get a value between 0 and 1023 (where 0 equals ground and 1023 equals +5 volts). The analog range is divided into 5 sections (1023 / 5). Five LEDs are connected to the digital pins 2, 3, 4, 7 […]
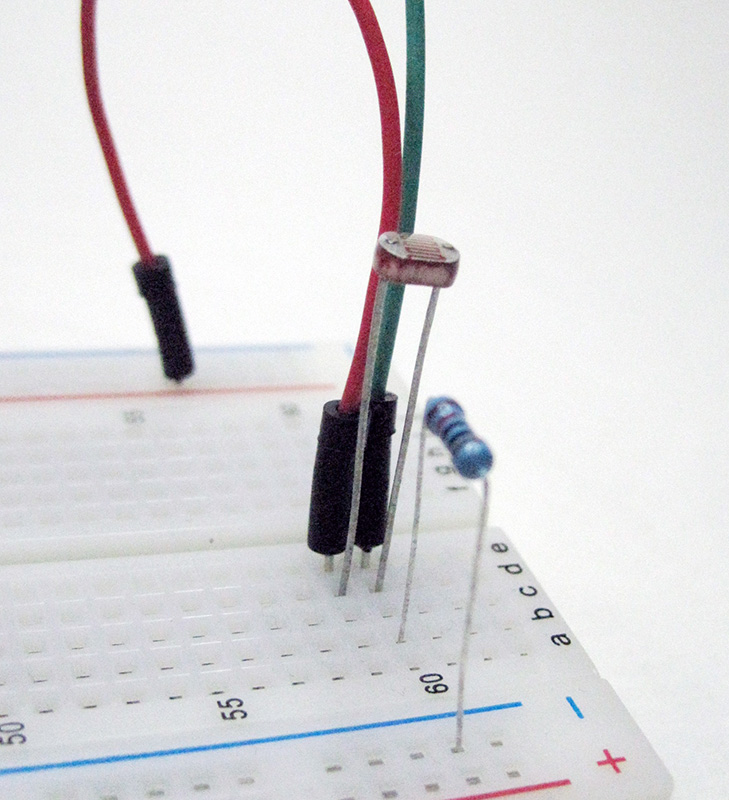
The light sensor is also called a light-dependent resistor (LDR) or photocell. It is connected to Arduino pin A0. analogRead measures the voltage at the pin. You will get a value between 0 and 1023 (where 0 equals ground and 1023 equals +5 volts). Changing the type of lamps and ambient light will give a bit of variation in your readings. In many cases […]
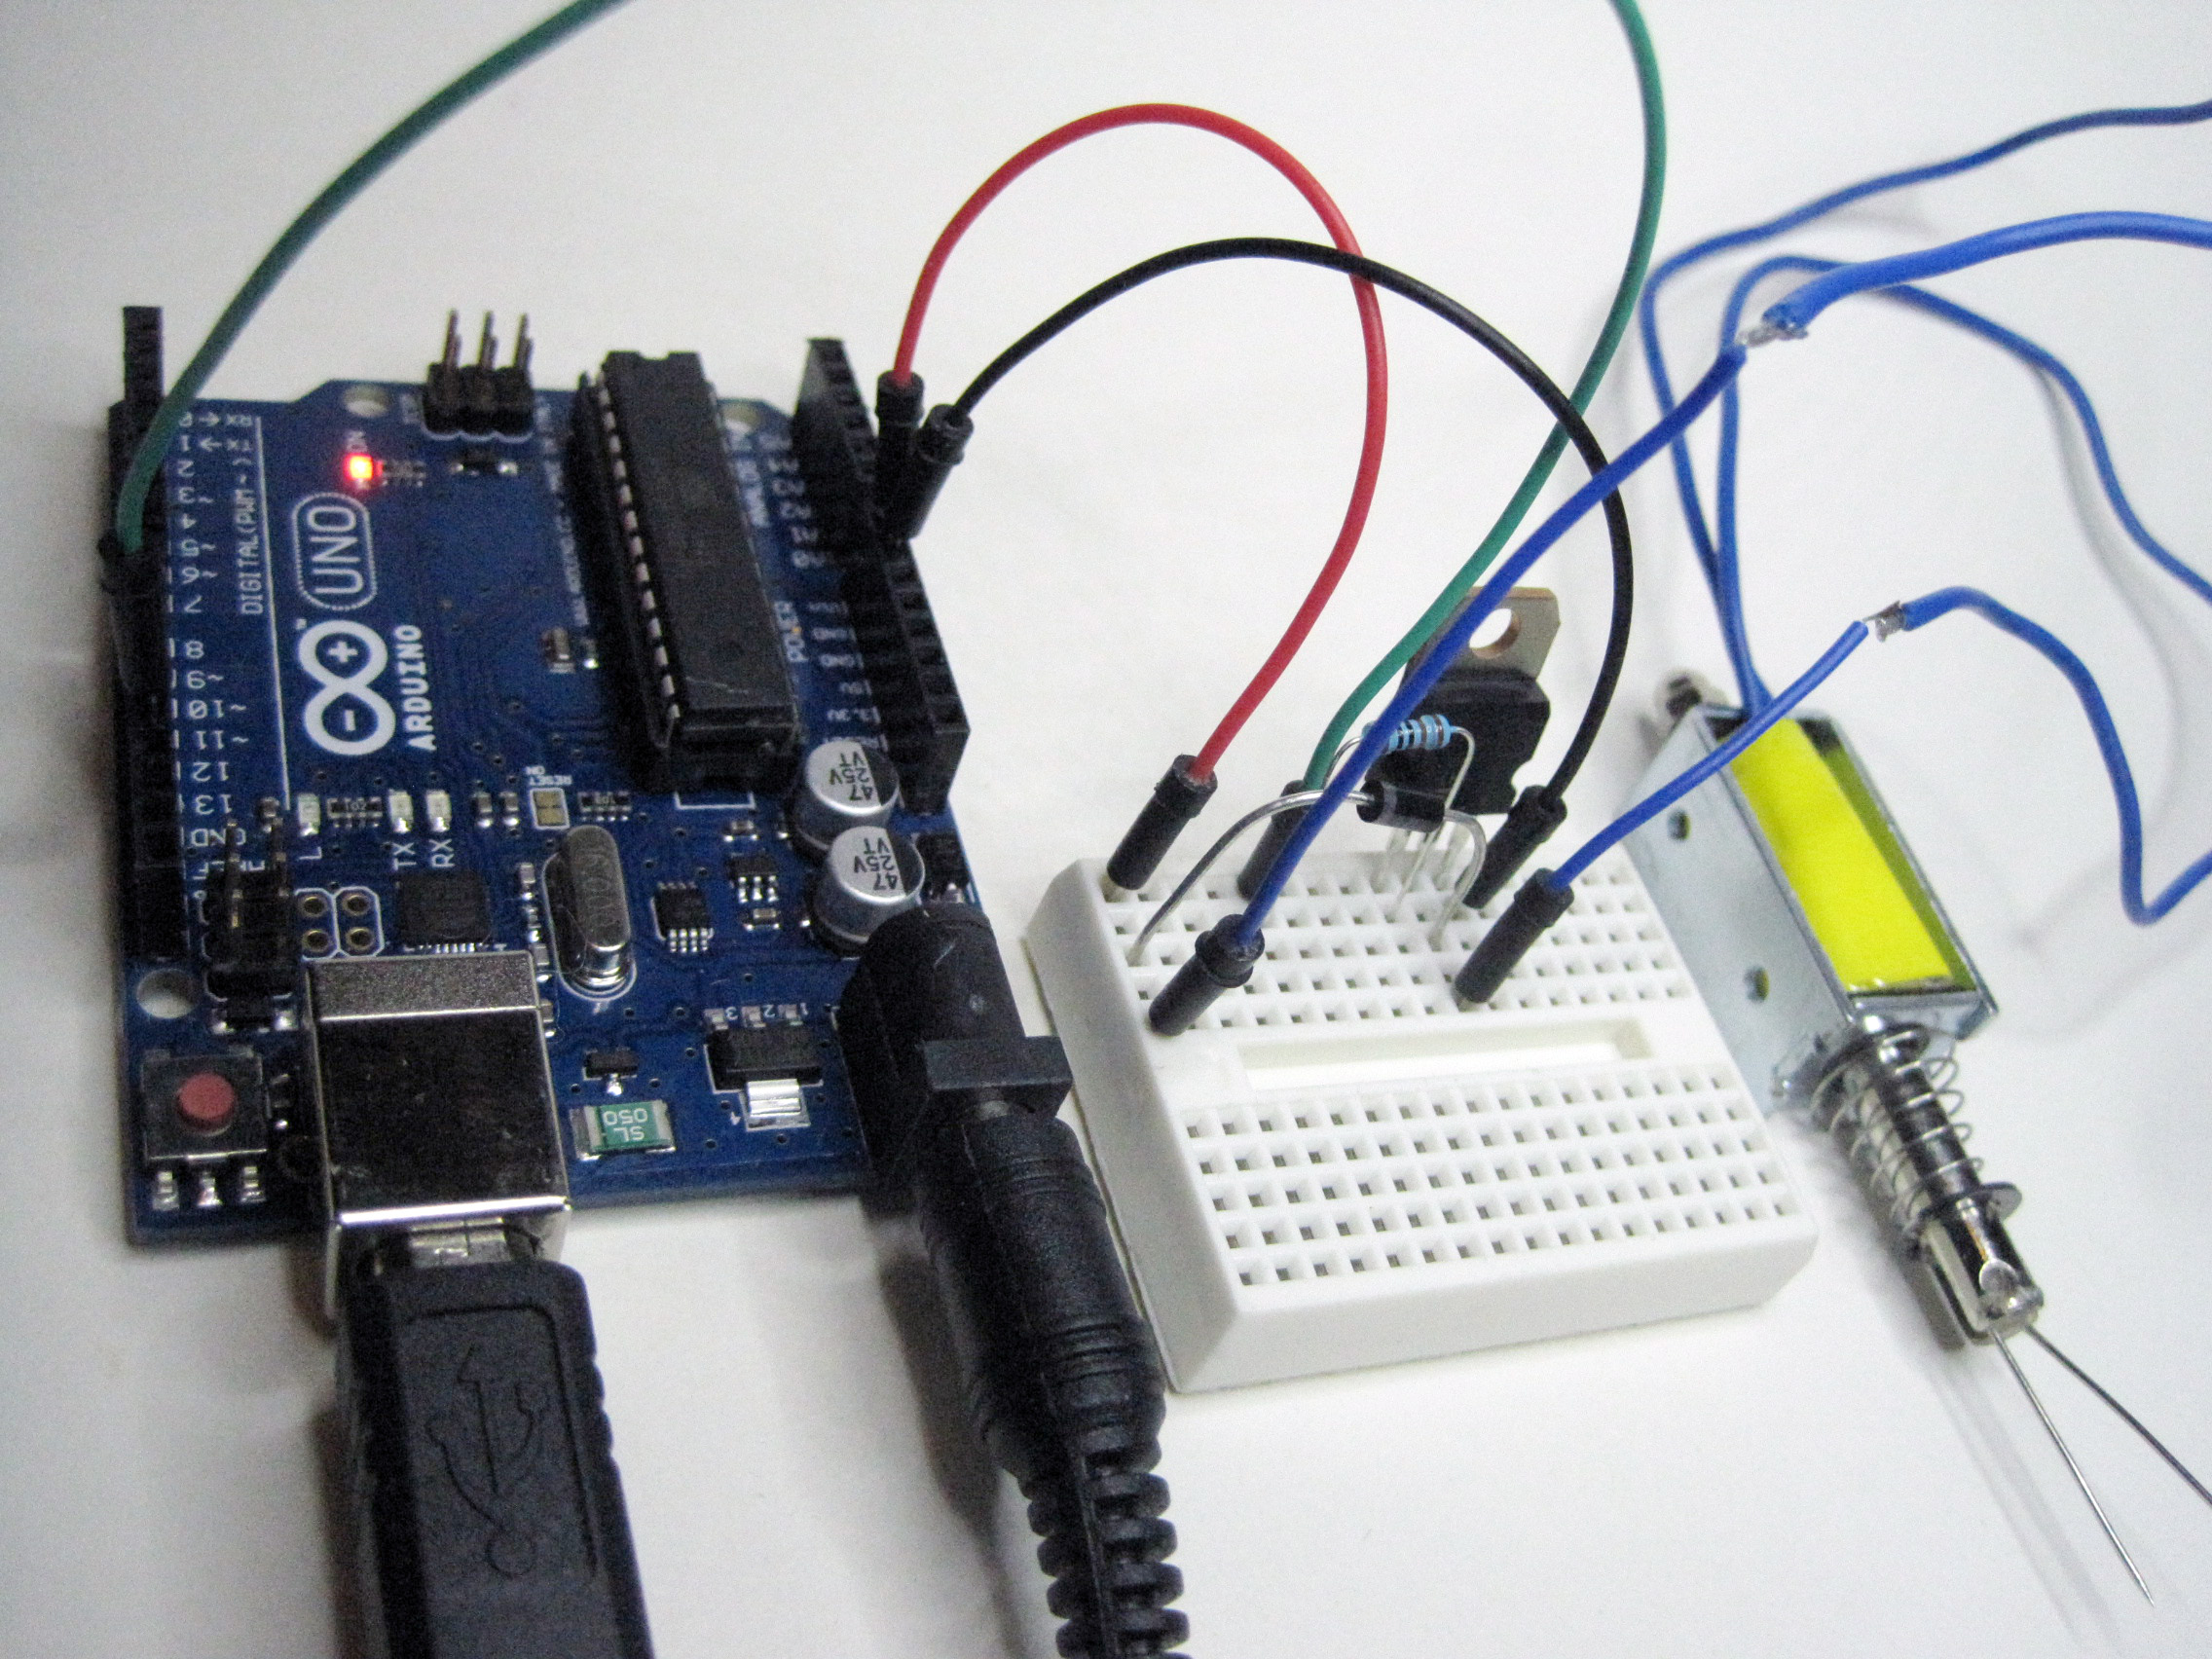
Use a 12 volt solenoid or motor. Connect a 12 volt power adapter to the Arduino board. On the board there is a pin called Vin that will provide the 12 volts directly from the power adapter. Use Vin to power the solenoid / motor. There will be a lot of current flowing through the […]
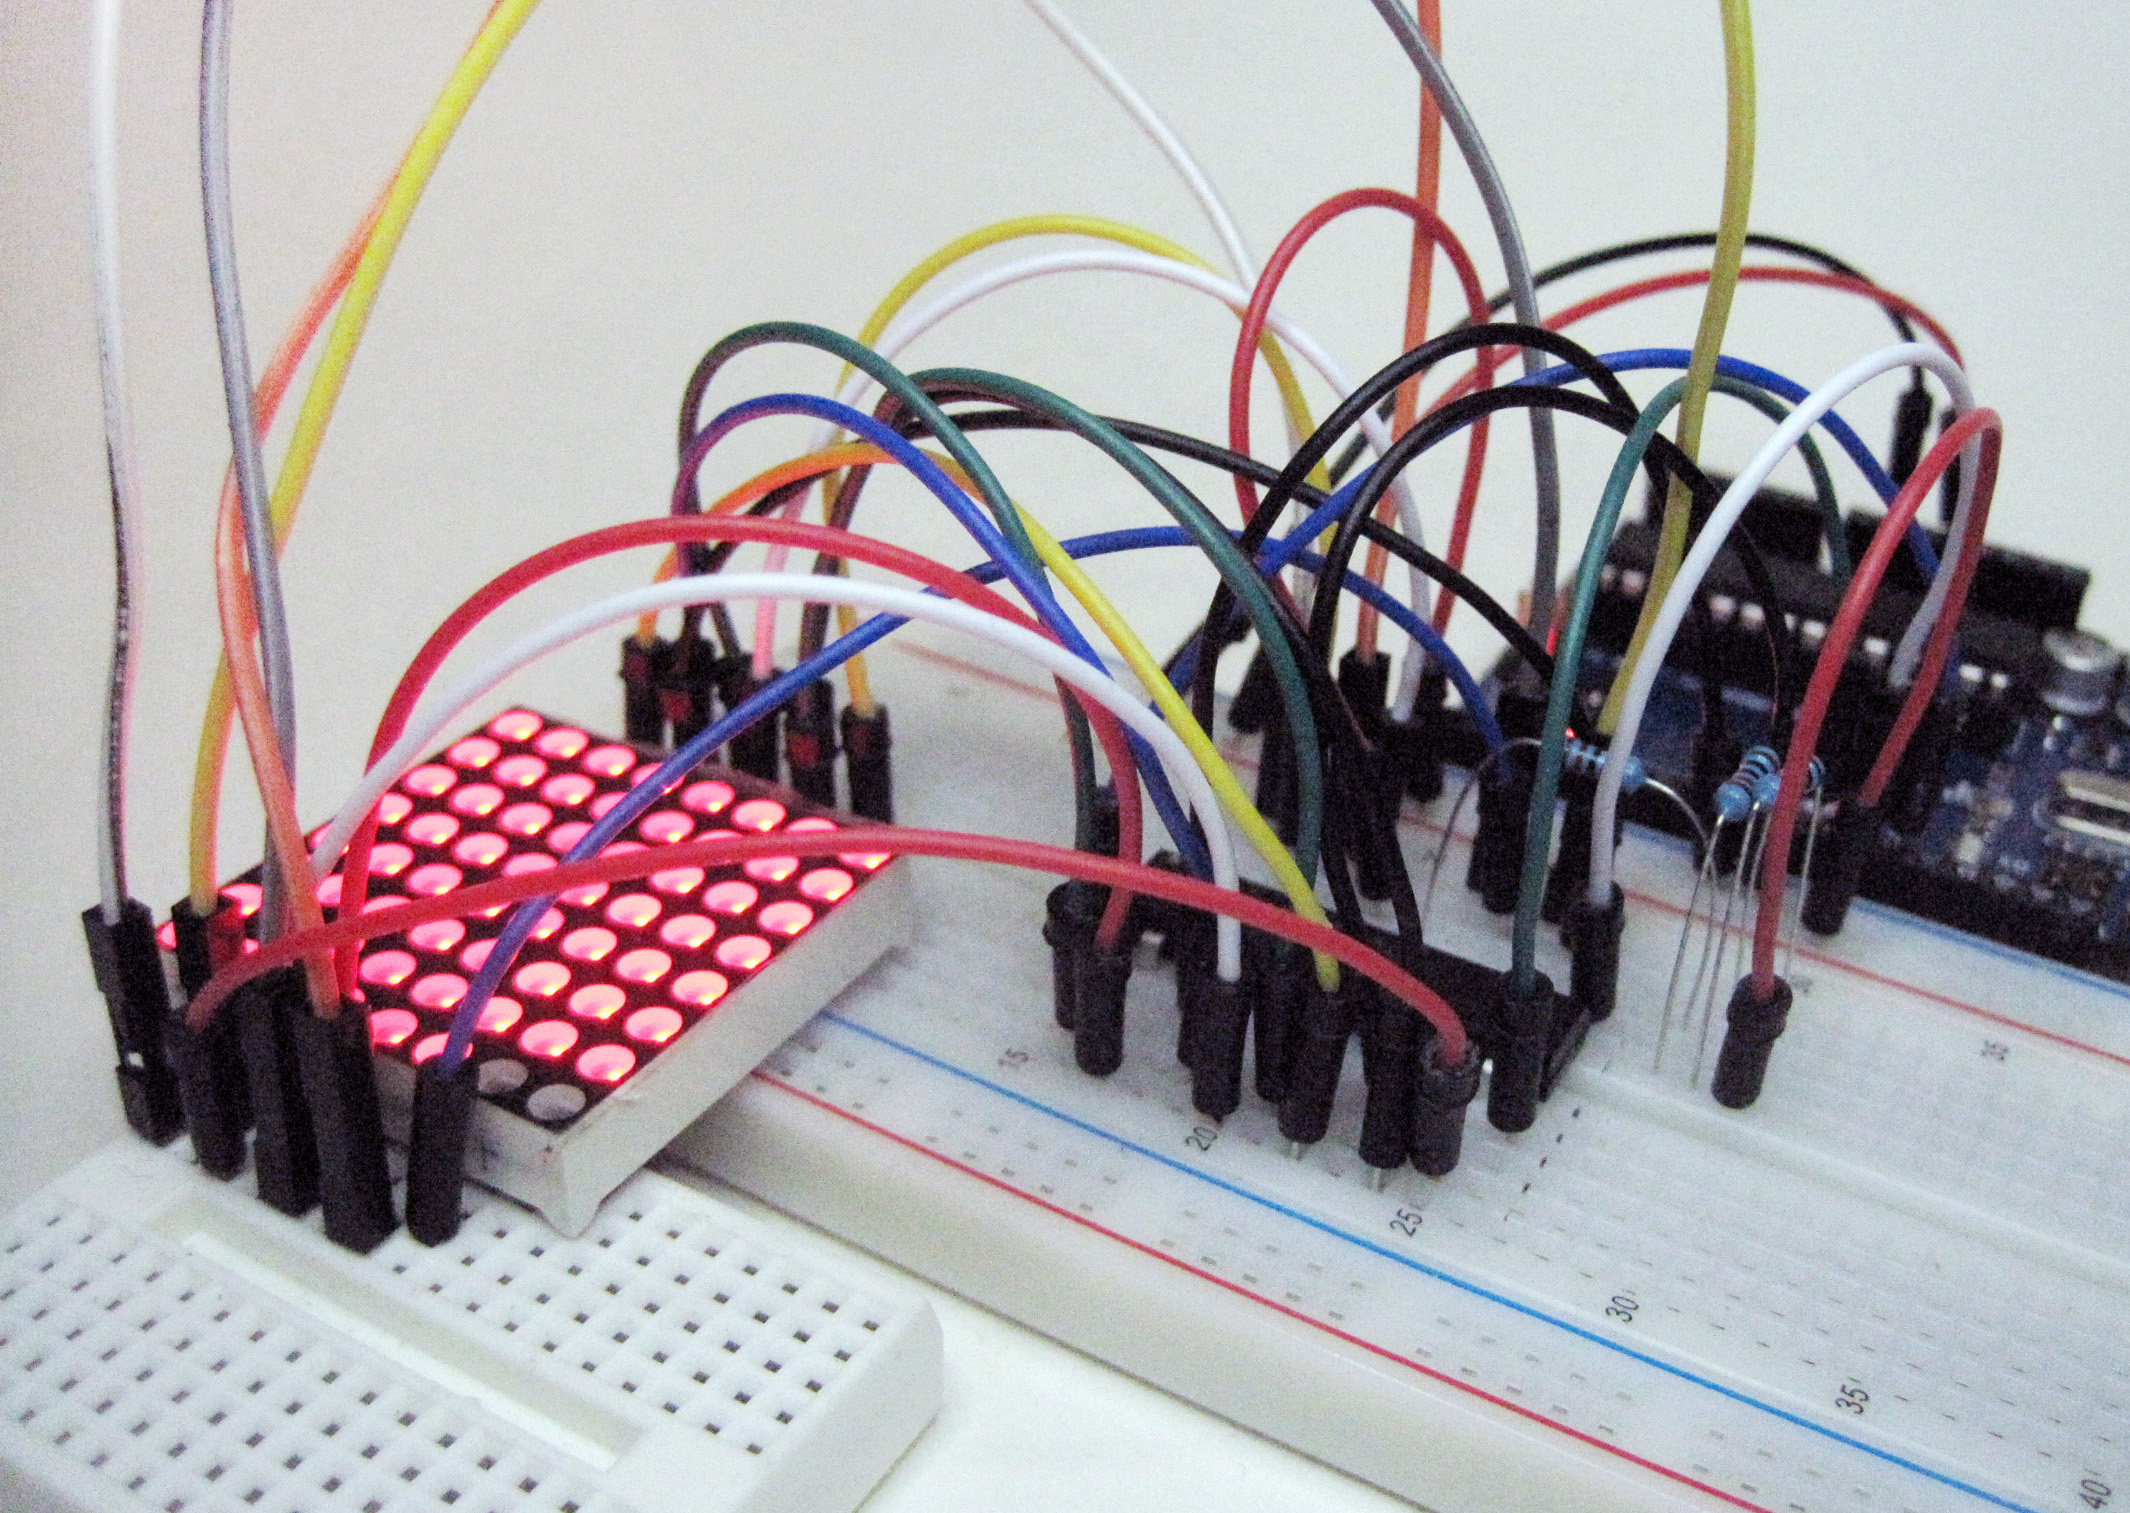
The 8×8 LED matrix is 64 LEDs arranged in an 8 row, 8 column matrix, just like a chess board. The Max7219 is used to control 64 LEDs at once. The Arduino sends data to the 7219 using the SPI serial communication protocol. You can have multiple SPI devices connected to an Arduino simultaneously. For your convenience, the Arduino uses a library to talk to […]
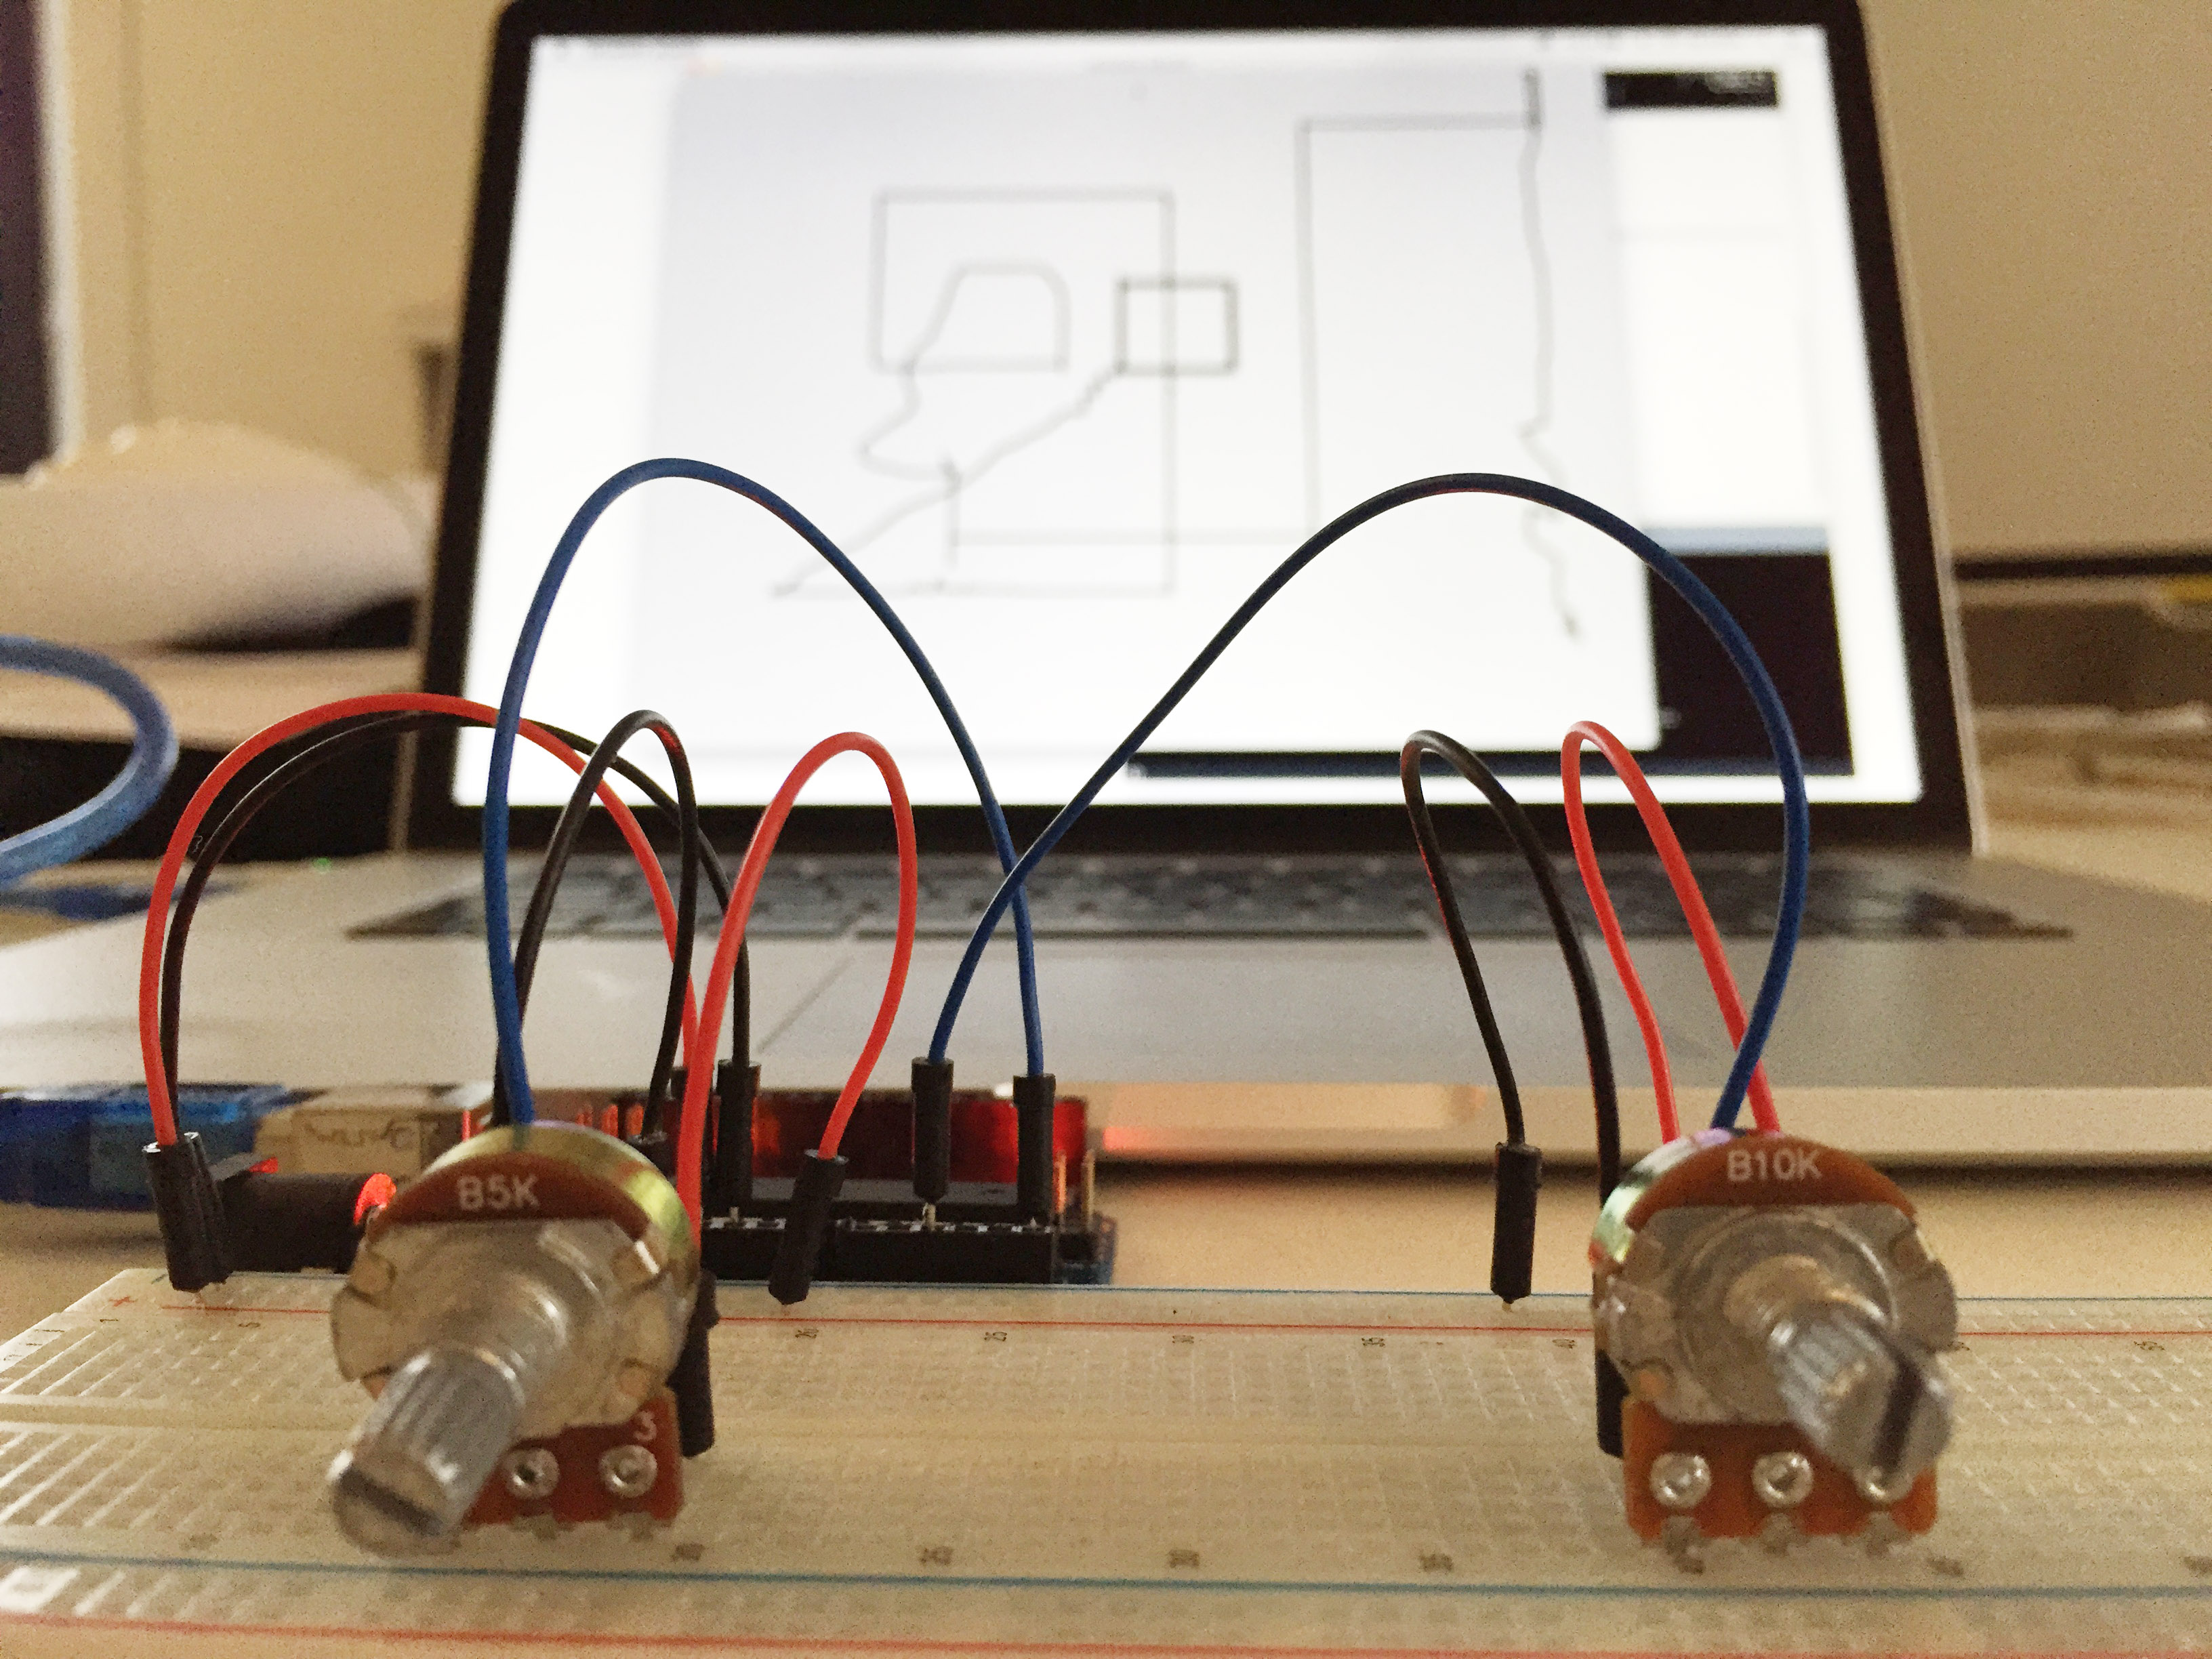
A simple but effective project to demonstrate physical control over a computer screen. Connect two potentiometers to Arduino analog inputs A0 and A1 Use serial-communications to get pot values from Arduino to Processing Make a Processing sketch that accepts the serial data and draws lines Arduino Code void setup() { // Start serial-communications with computer: Serial.begin(9600); } […]

A one-week crash-course …in electronics and programming. This is the kit we used for the course: 1602 LCD Servo Dot Matrix Breadboard LED Resistor UNO R3 Starter Kit for Arduino (eBay) We did not use most of the advanced stuff in it. I also added a couple of components: One solenoid: 12 volts, the strongest and longest slew […]

Four days of electronics and programming You know you love it. The course contents were essentially the same as this course, and followed the posts on this site. We also found a few errors in the posts, so I had an opportunity to correct them. Thank you Forsbergs Design 2 2014-2015 for beta testing ;) Some of […]