On MacOS. For Adafruit Feather M4 Express or any other SAMD51 (M4) or SAMD21 (M0) board that has Adafruit UF2 Bootloader installed. Noob level!
Fast-Track
Here’s the fast-track reminder for an M4, if you already have everything installed:
- Arduino IDE: Compile, don’t upload
- Arduino IDE: Export Compiled Binary
- Copy ‘uf2conv.py’, ‘uf2families.json’ into the generated binaries folder
- Terminal cd into into the generated binaries folder
- Double-press Feather reset button
- Adjust ‘Arduino_Project_Name.ino.bin’ text and Terminal this:
python3 uf2conv.py -f 0x55114460 -b 0x4000 Arduino_Project_Name.ino.bin -o /Volumes/FEATHERBOOT/CURRENT.UF2Background
There are some instructions on how to do this. Adafruit, for example, has this page UF2 Bootloader Details with a lot of information. It’s not geared towards the necessary steps to actually produce the UF2 file, I guess it’s taken for granted that everybody understands how. Also it refers to something I supposedly need to know on a broken link. I tried to follow a couple of instructions and then collected exactly what I did to make it work here. YMMV.
Assuming you have a Mac with Arduino IDE 2 installed, and the necessary board definitions and libraries to compile Adafruit M4 / M0 boards.
- Install Python 3
- Obtain the Files ‘uf2families.json’ and ‘uf2conv.py’
- Create an Arduino Feather M4 Express Test Project
- Logistics of Files and Paths
- Terminal to Control Python Script
- One Final Observation
1. Install Python 3
You will need Python to run the script in step 4. I was pretty sure I did, but when I followed the instruction to issue a ‘python –version’ command in Terminal it showed I didn’t. Later I realized I apparently need to know what version of Python I could be having, otherwise the command won’t work… Open Terminal and type the following and hit return:
python3 --versionIf it says something like ‘Python 3.12.4’ you’re fine. But if it says ‘command not found: python3’ you probably need to install it. I downloaded it from the top of this page: https://www.python.org/downloads/macos/. It’s a standard dmg download and install, familiar to every Mac user.
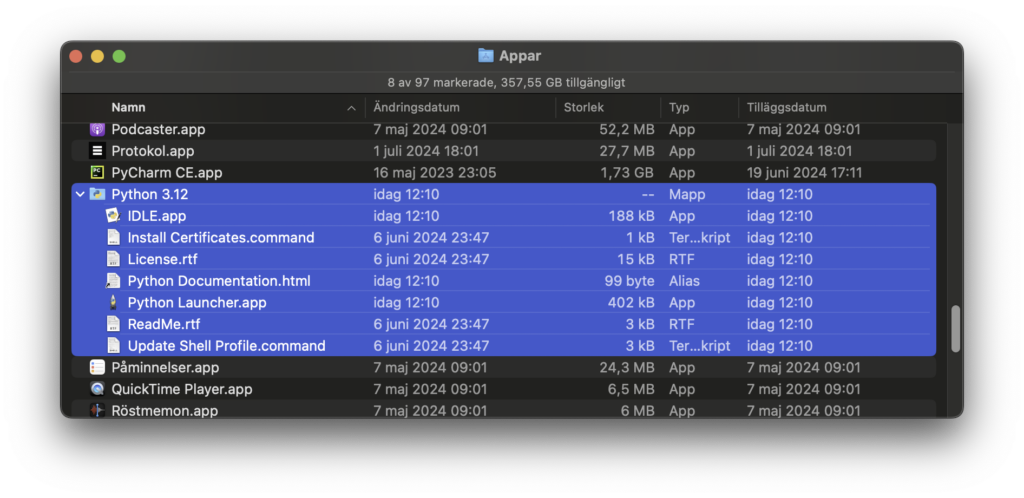
The Python3.12 folder is now installed in your App folder. I’m not going to use these App files, I will run python3 from the Terminal. However, in the ReadMe it said to doubleclick ‘Install Certificates.command’, so I did.
2. Obtain the Files ‘uf2conv.py’ and ‘uf2families.json’
It resides here: https://github.com/microsoft/uf2/tree/master/utils I was told to use
git clone https://github.com/microsoft/uf2.git (Not working on my system)to download it, which did not work. I got a ‘fatal: could not create work tree dir ‘uf2′: Read-only file system’ error. I spent several hours in the usual Linux hell, upgrading brew, pip3, git and following instructions on how to solve the problem. Like so often with Linux, everything partially worked, and then presented me with further tangental problems to solve.
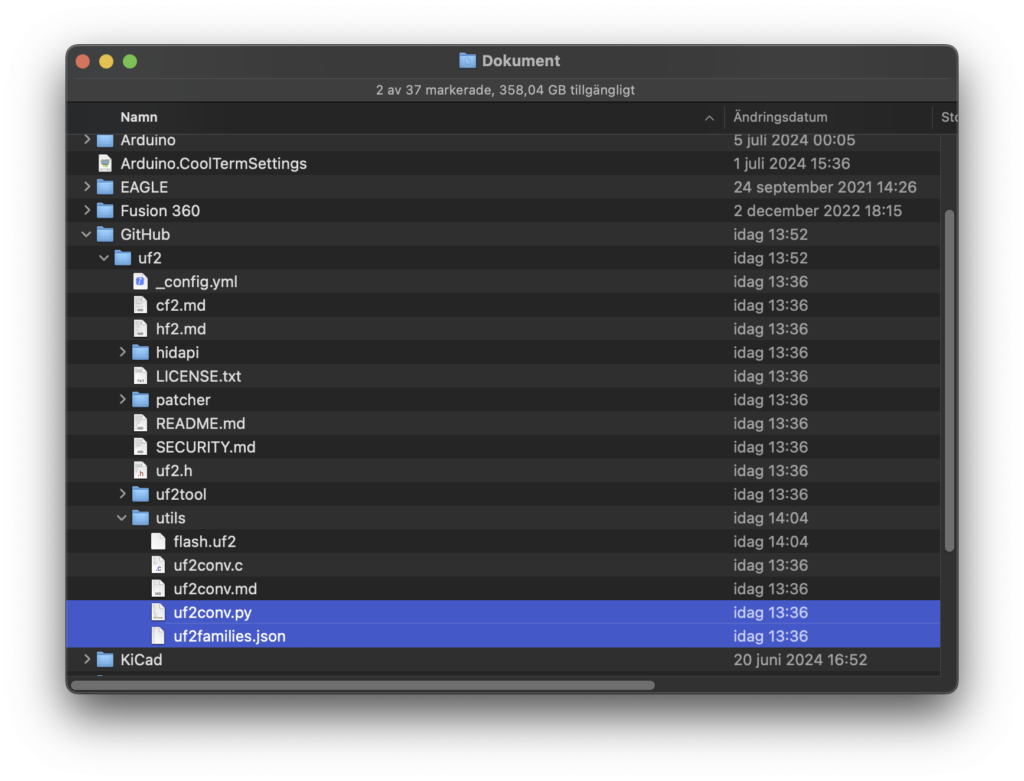
I bypassed the problem by downloading and installing GitHub Desktop from here: https://desktop.github.com/download/. This is a MacOS App, not a command-line tool. You will need to have a GitHub account to use it. I pasted the https://github.com/microsoft/uf2.git link in the Clone area and the repository was downloaded to Documents / GitHub / uf2.
The thing is, you don’t really need the whole repository, just the ‘uf2conv.py’ and ‘uf2families.json’ files. I didn’t realize that until I already had everything working, otherwise I would just have copied the contents of the two files from GitHub, and pasted into two text documents, thus avoiding the whole git ordeal.
3. Create an Arduino Feather M4 Express Test Project
In Arduino IDE 2
- Open File > Examples > 01.Basics > Blink
- Save it as ‘UF2_test’
- Make sure to select the right board type. Adafruit Feather M4 Express, in my case.
- Compile it [Cmd-R] / [Ctrl-R] but do not upload it to the Feather
- Sketch > Export Compiled Binary
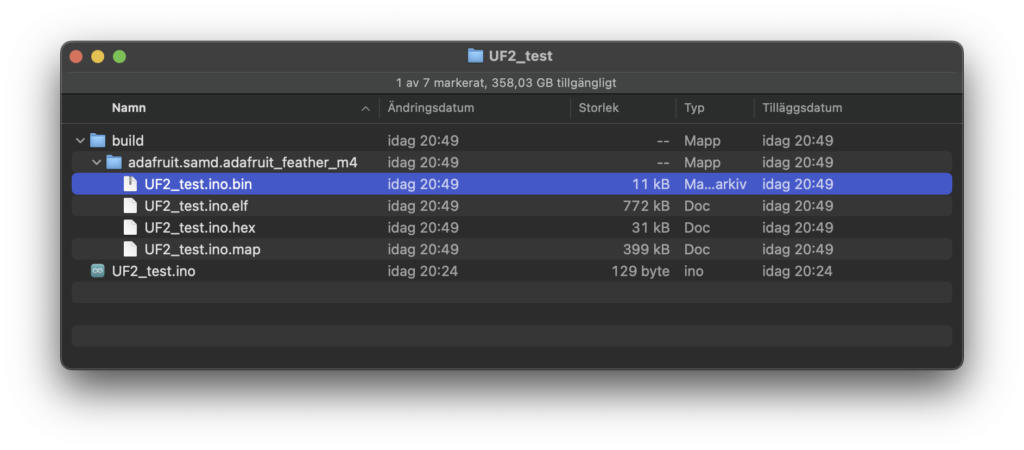
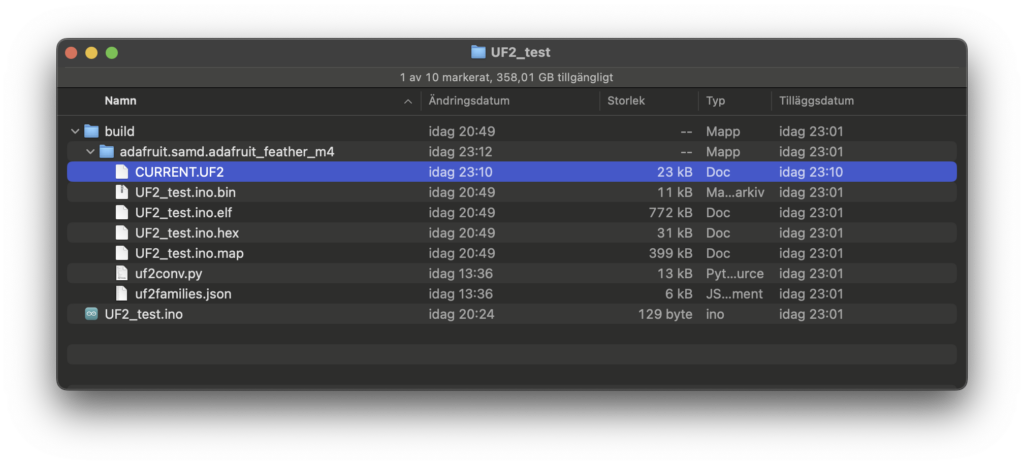
Now your UF2_test sketch folder looks like this. We are going to use the .bin file. It resides in ‘adafruit.samd.adafruit_feather_m4’ because we selected the correct board type before compiling and creating binaries.
4. Logistics of Files and Paths
What you need to know now, is how to actually use ‘uf2families.json’, ‘uf2conv.py’ and ‘UF2_test.ino.bin’ with Python. I copied the first two files into the Arduino project’s binaries folder like this:
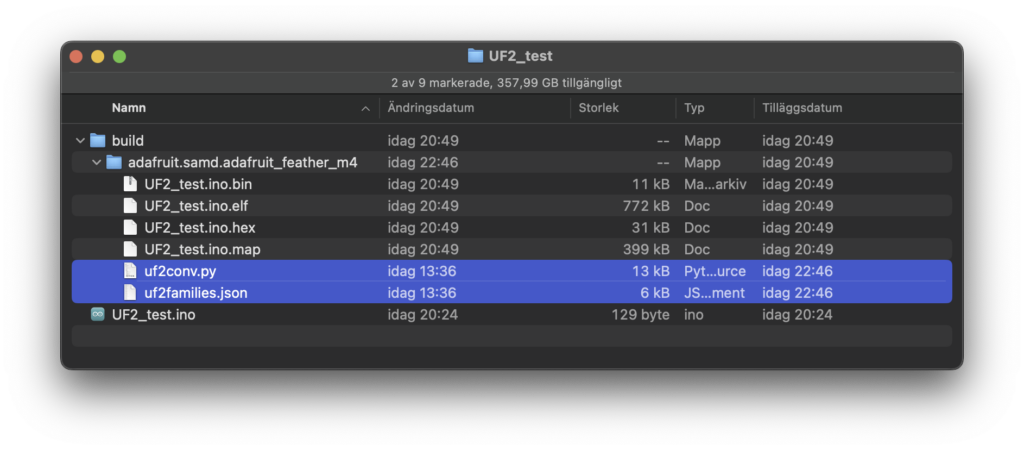
There are several reasons for putting them there. I’m sure there are reasons to do it some other way too. My first reason is that my Terminal command will have a short and easily readable file path to .py and .bin files. The second is that the project will be portable: Everything I need is inside the folder (as long as the destination computer has Arduino IDE and Python3 installed).
5. Terminal to Control Python script
Open Terminal. Move to the ‘adafruit.samd.adafruit_feather_m4’ directory: Type cd and drag-and-drop the binaries folder on the terminal prompt line, hit return. In my case:
cd /Users/andreas/Documents/Arduino/UF2_test/build/adafruit.samd.adafruit_feather_m4Terminal again:
python3 uf2conv.py -f 0x55114460 -b 0x4000 UF2_test.ino.bin -o CURRENT.UF2This results in a file called ‘CURRENT.UF2’ in the same directory. This file can be dropped on the Feather’s Mass Storage Device symbol to replace the previous CURRENT.UF2. If you don’t see the MSD symbol on the desktop, double-press the reset button on the Feather.
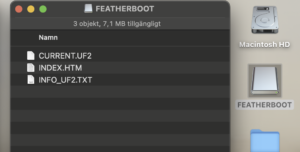
Or you could generate the .UF2 directly to the Feather’s MSD, if it’s mounted. In doing so the Feather will be programmed, unmounted and restarted. Double-press Feather reset button, then (for Cortex M4 / SAMD51):
python3 uf2conv.py -f 0x55114460 -b 0x4000 UF2_test.ino.bin -o /Volumes/FEATHERBOOT/CURRENT.UF2If you’re using Cortex M0 / SAMD21 try this following instead (untested by me):
python3 uf2conv.py -f 0x68ed2b88 -b 0x2000 UF2_test.ino.bin -o /Volumes/FEATHERBOOT/CURRENT.UF26. One Final Observation
I’m writing this here because there’s no mention of it on other pages: I noticed that if you program the Feather with an UF2 file, and then program it with Arduino IDE upload, and then again with UF2 etc, the Feather always uses the latest firmware, independently of programming method. This how you would want it to work, and is likely obvious if you know the mechanics of the bootloader’s file system, but I was a bit worried that I would not be able to program it with Arduino IDE once I started with UF2. There was no such problem. Nice.