Arduino files download: Sonoff_toaster_timer
First install ESP8266 support for Arduino IDE. Follow these instructions:
https://github.com/esp8266/Arduino
Reprogram Sonoff Smart Switch with Web Server. I didn’t use this in the end, but learned the basics:
https://randomnerdtutorials.com/reprogram-sonoff-smart-switch-with-web-server/
ESP8266 ajax – update part of web page without refreshing. The main source for my toaster’s html page:
https://circuits4you.com/2018/02/04/esp8266-ajax-update-part-of-web-page-without-refreshing/
ESP8266 Timer / ticker examples. Helps keeping track of time / elapsed seconds:
https://circuits4you.com/2018/01/02/esp8266-timer-ticker-example/
Background
My toaster had a mechanical problem: It didn’t release the bread, or turn off, when time was up – Instead it continued toasting forever. This is my second toaster of the same type that breaks. It’s obviously not reliable, but it does take long slices of bread
So I had the idea to control the power supplied to the toaster, instead of trying to fix its mechanics.
I got a couple of Sonoff WiFi relay switches off eBay, hoping to automate a few things at home. I soon realised it would not be possible because of the way they are programmed to work: They use your WiFi to connect to a global server, where you have used their “EWeLink” app to set up an on / off schedule for the switches. That scheme would be useless for my purposes for many reasons:
- When I got the switches (Christmas 2017) there was a global Sonoff hype. The server was unreachable, probably due to heavy traffic.
- You need internet to use the Sonoff. Of course I wanted to be able to make a toast even if my ISP was having problems that morning.
- I suspect that if you would turn on a switch and then loose connection to the server, it would stay on forever. This would cause any inserted bread to catch fire.
- The scheduling control was too unprecise. You can set events to minutes at best, but I needed second’s granularity.
- There was no way (at least not back in 2017) to turn a switch on, and have it turn off after a set time interval. You could only turn it on (maybe 07.23) and then set it to turn off at another time stroke (07.25 or so).
The Project
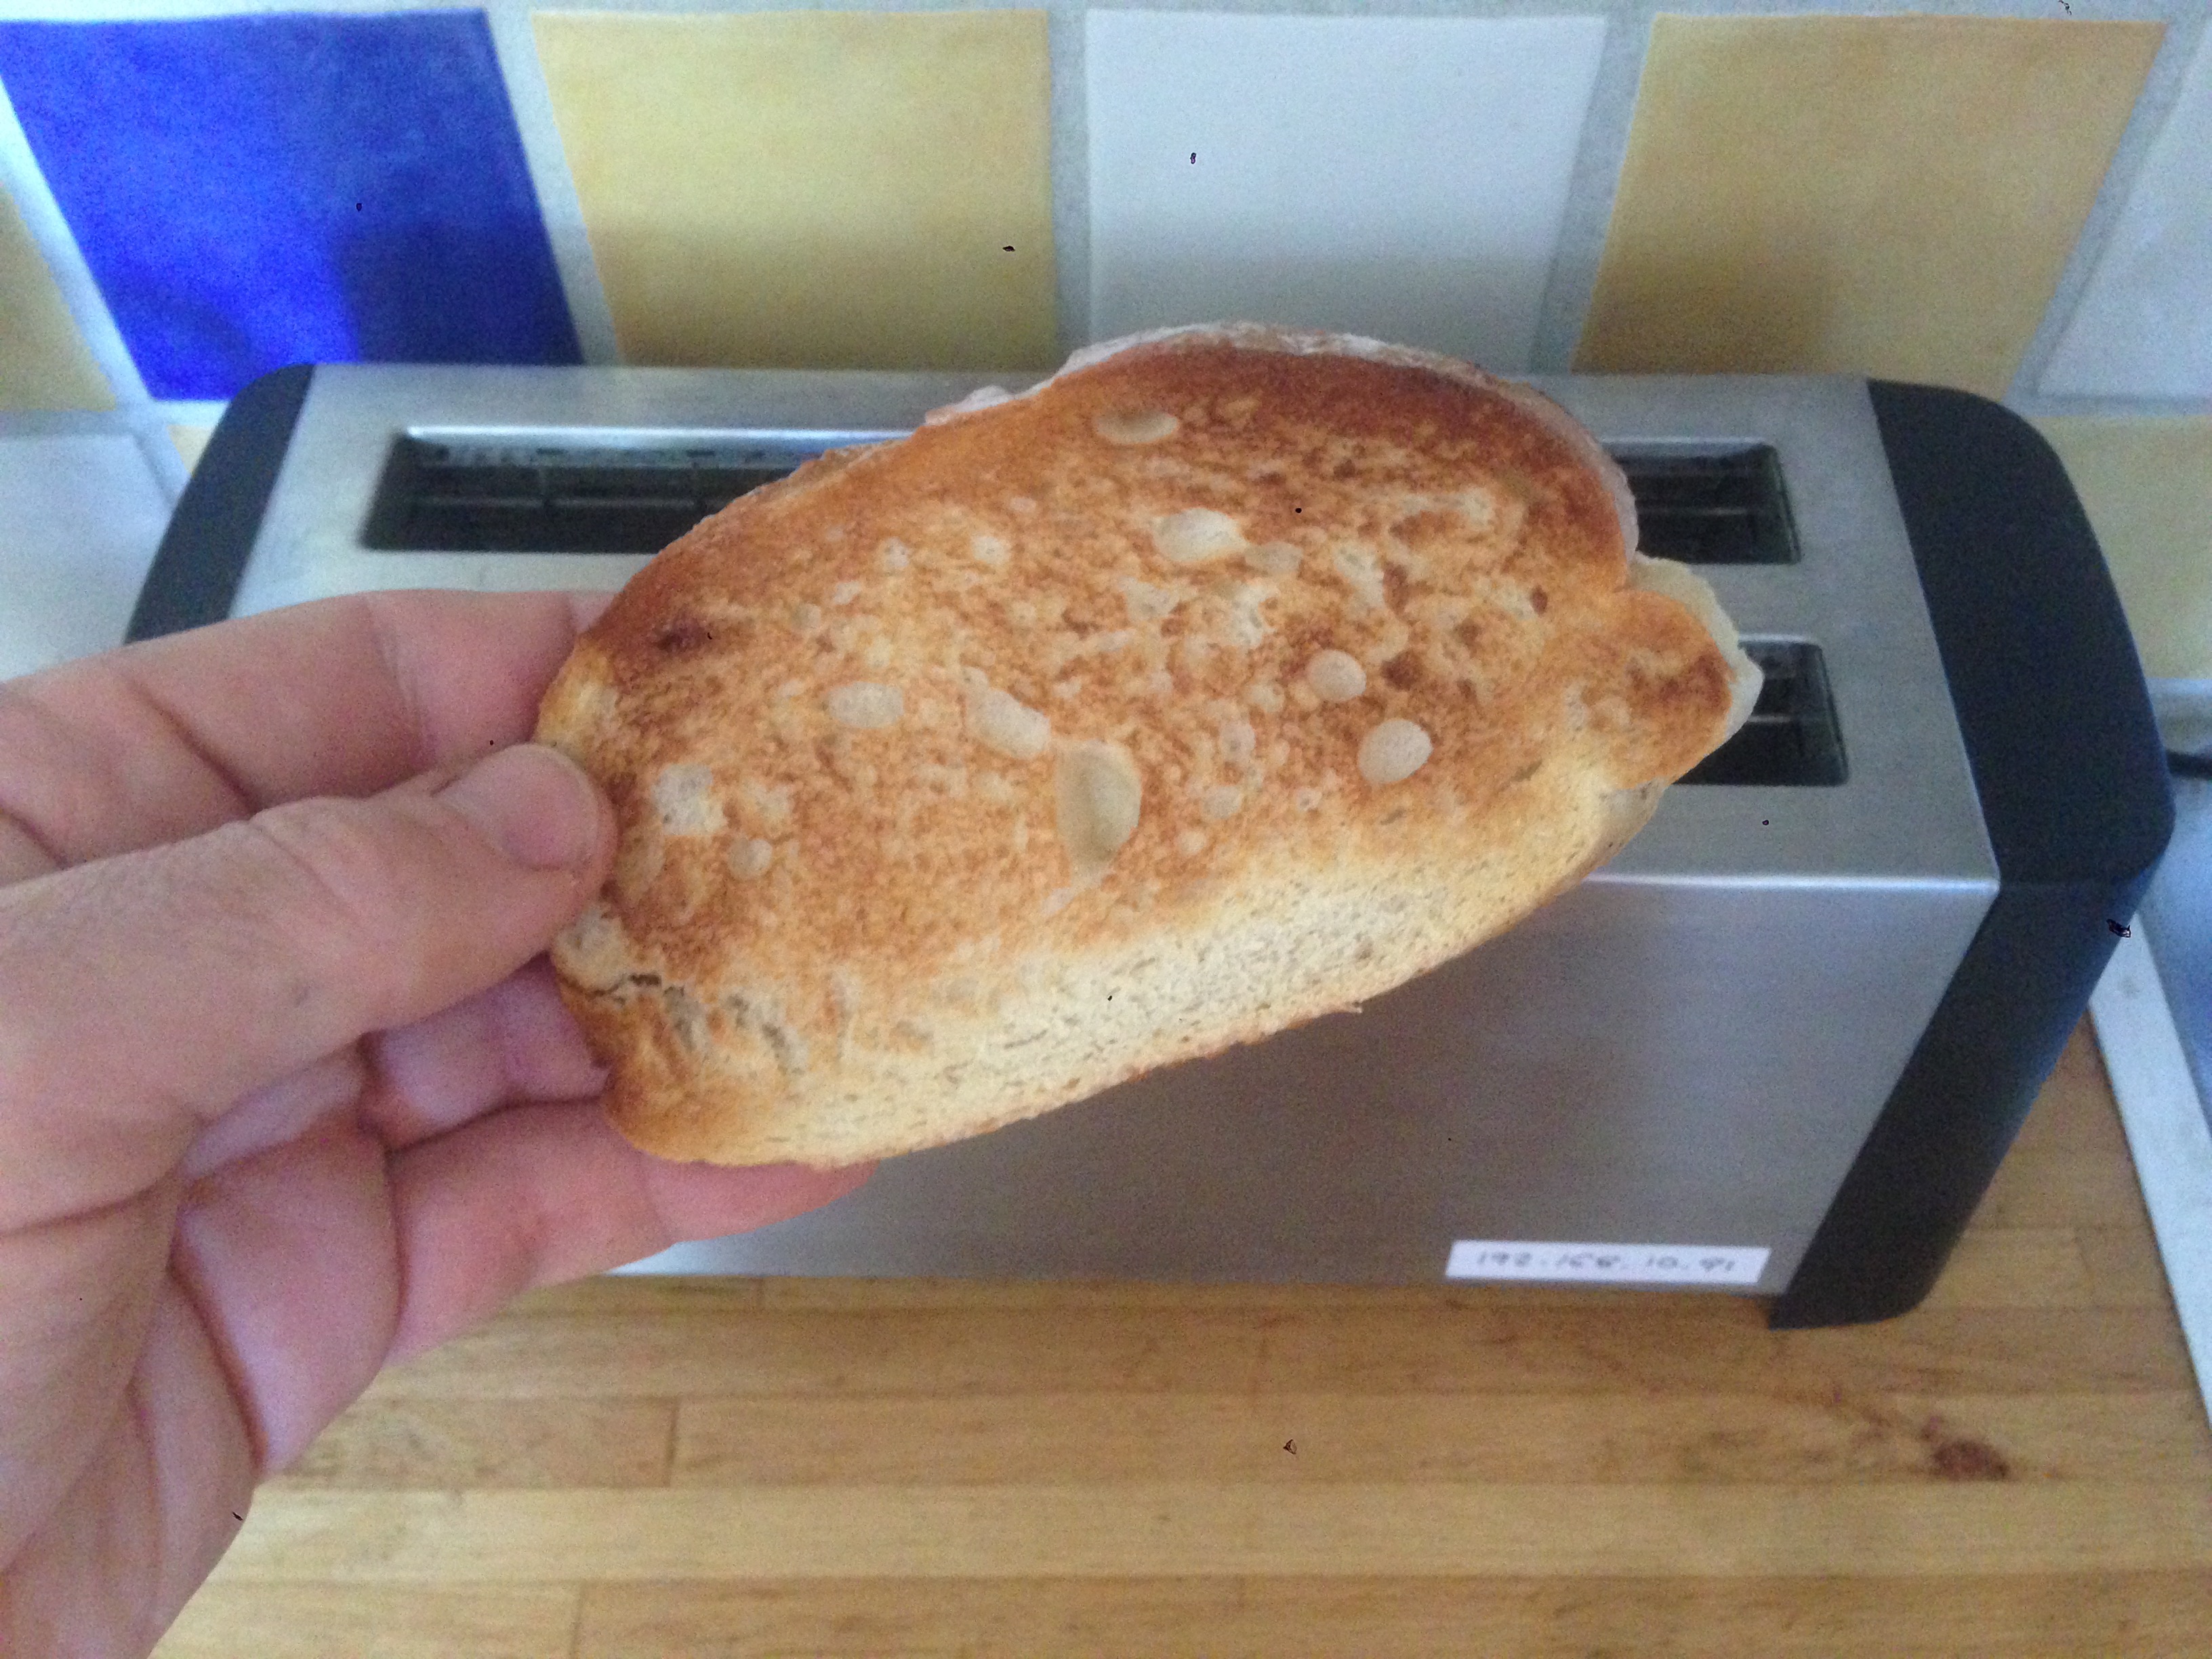
I already nourished a long-standing toast dream: To be able to sequence the toasting like this: Toast-Pause-Toast-Stop. I had previously noticed that the toast quality was increased significantly when I did this manually – The slices didn’t get dry on the outside and wet on the inside. Instead they became crisp all the way through.
I also wanted presets for different types of bread, or for users with various demands.
The Sonoff serving a local web page
The Sonoff contains an ESP8266 processor that does most of the work. Most importantly ESP8266 has WiFi capabilities, which is why it’s used in many Internet of Things-applications. It’s possible to run a web server on the ESP8266, and have it serve a web page with a user interface for the Sonoff on / off switching. So in my case it serves a HTML / Javascript page with five buttons and a progress bar. The buttons select one of three toast sequence programs, a one-shot 30 seconds toast program or stop. The shortest toast program is for white bread that is a bit dry, the longest is for dark bread that is frozen.

New firmware, Arduino, randomnerdtutorials.com
To upload firmware to the ESP8266. I used Arduino IDE 1.8.1 and a USB-Serial TTL converter. I followed these instructions for wiring: https://randomnerdtutorials.com/reprogram-sonoff-smart-switch-with-web-server/
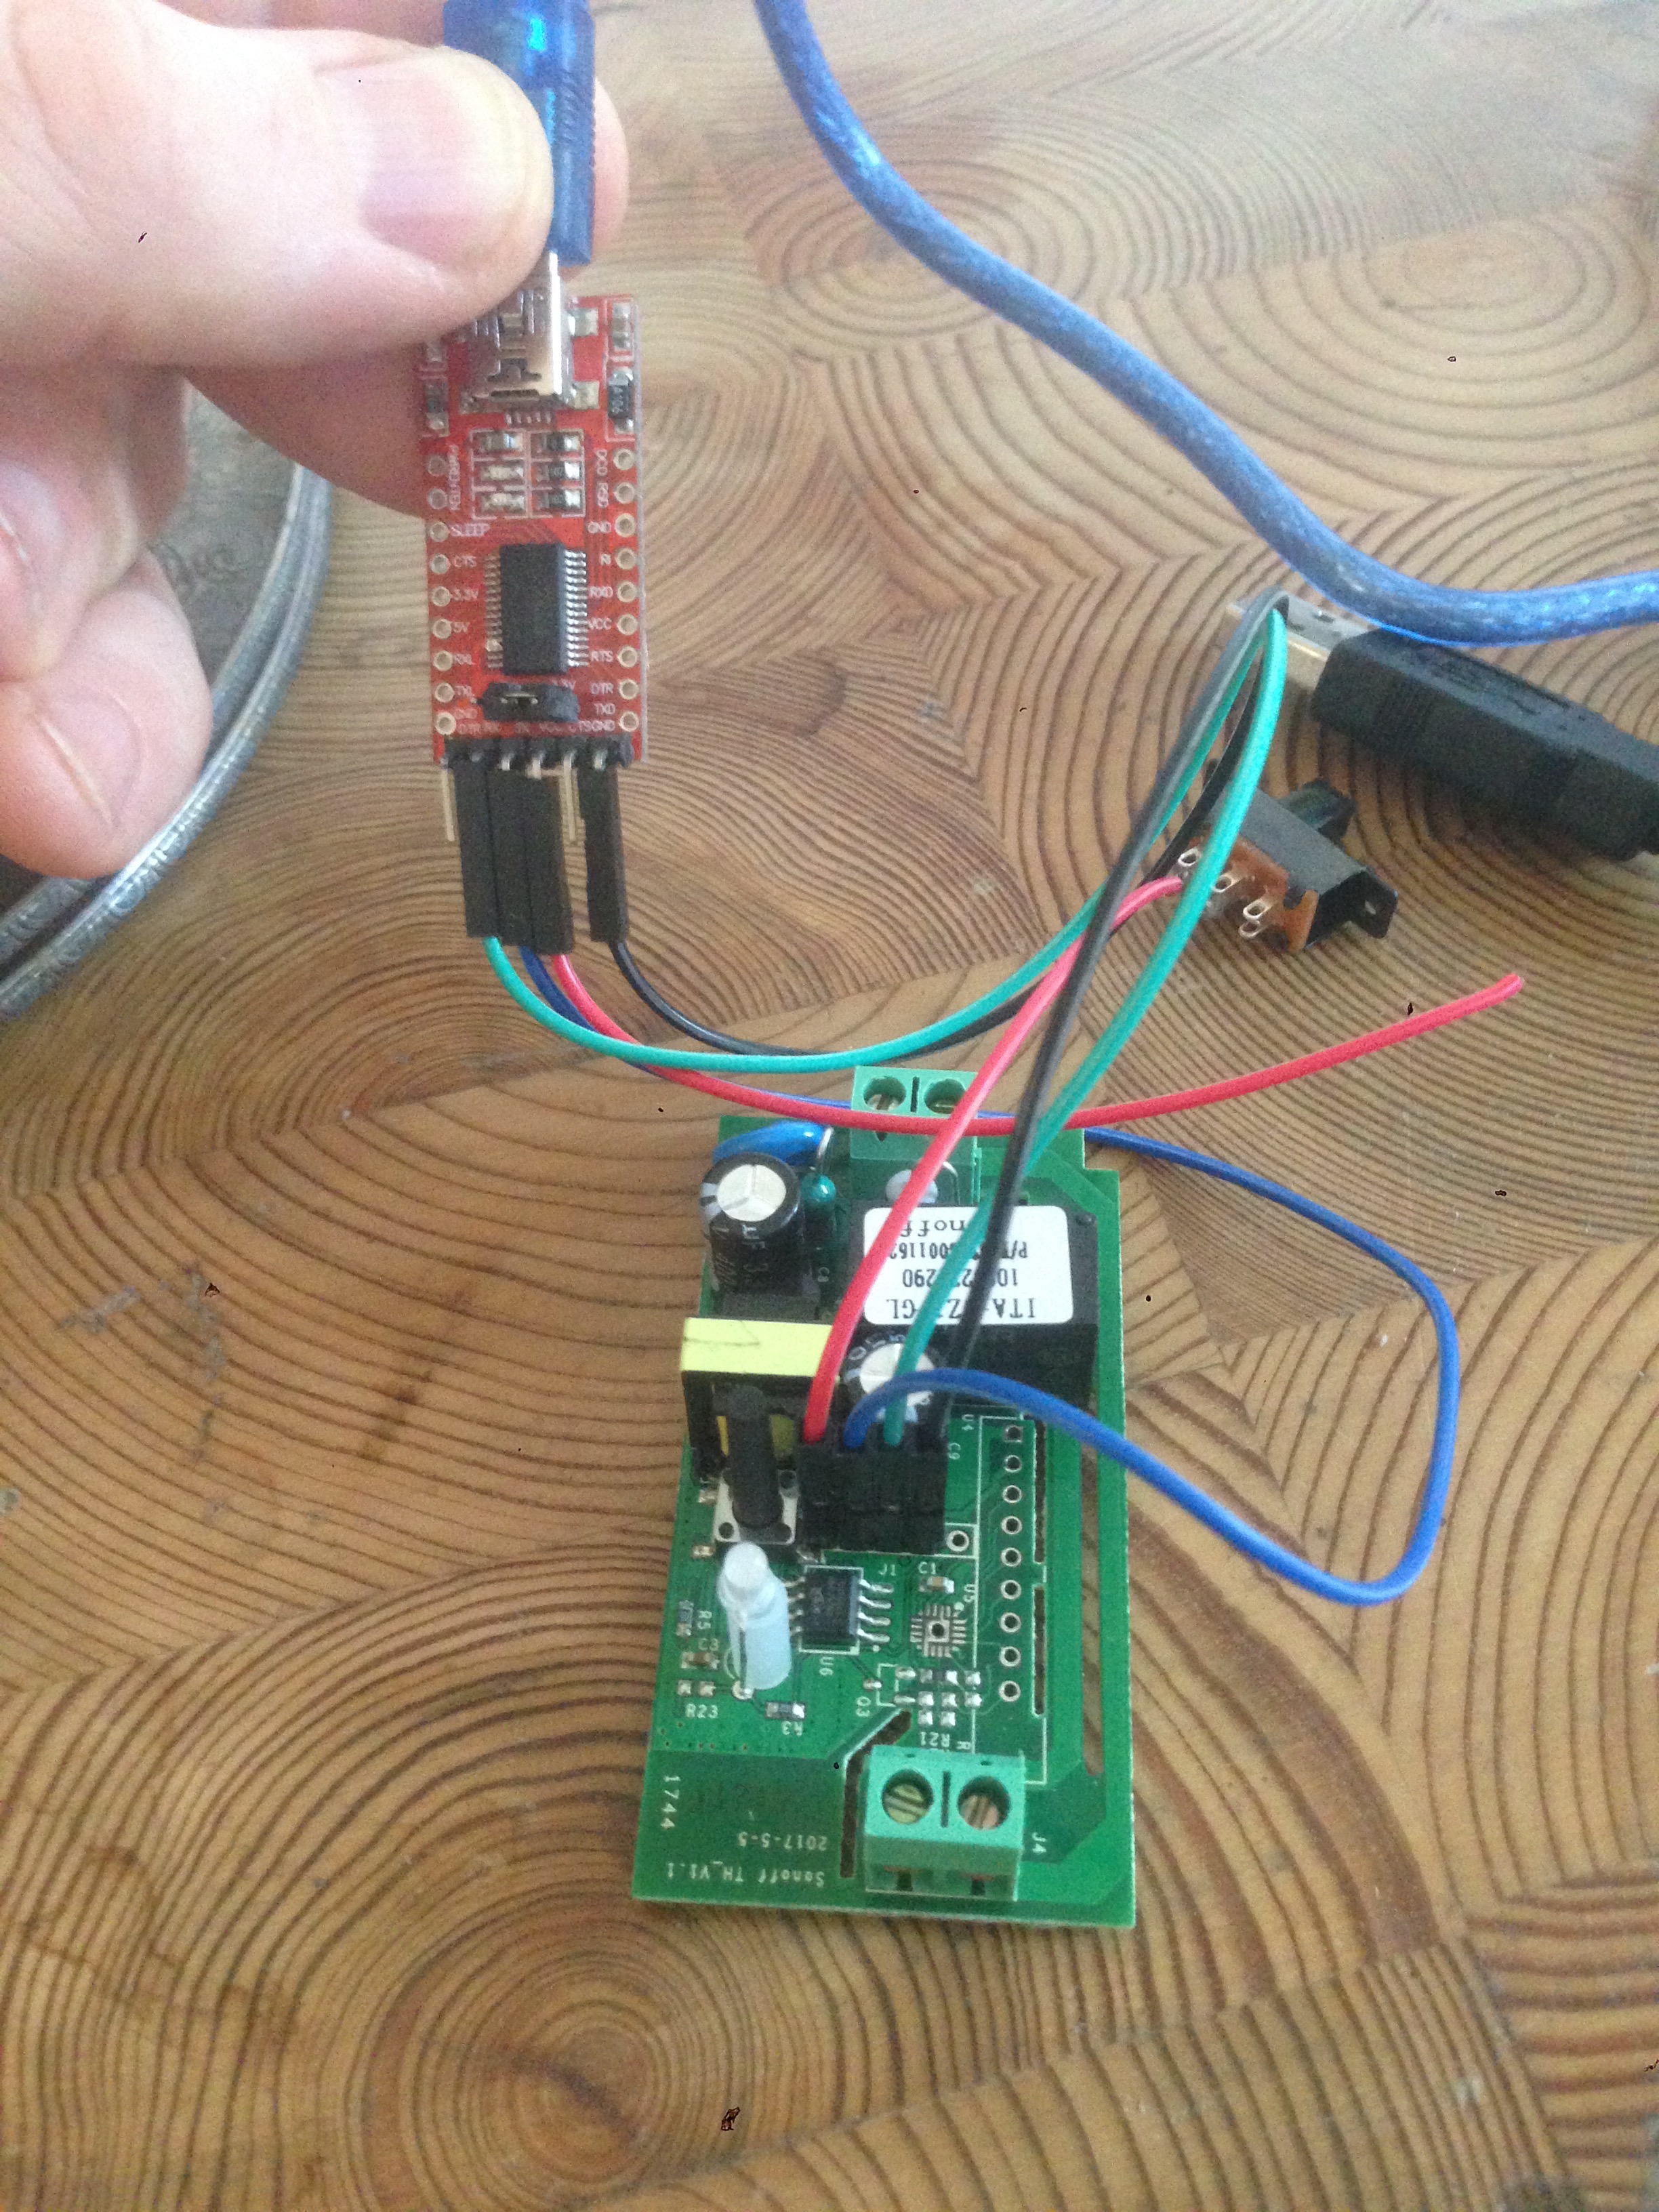
There was also info on what libraries needed to be installed, how to set up an ESP web server, connect to Wifi and more. A good place to get started.
Maybe not randomnerdtutorials, after all
I soon realized that the code on randomnerdtutorials would be dangerous for this project. It works something like this: When you click a button on the web page, a new page is loaded. Appended to the URL is the name of the button that you clicked. This is a common way to pass data between html pages. The problem is that when the toast program is finished, it’s quite possible that you still have this page (with the button name) loaded in your web browser. Which means that if you reload the page (which can happen automatically in many situations, ie on a computer restart) the toaster will start again.
AJAX, circuits4you.com
Then I found this page: https://circuits4you.com/2018/02/04/esp8266-ajax-update-part-of-web-page-without-refreshing/ that demonstrates using AJAX XMLHttpRequest techniques to do calls without reloading the page. It was a better fit for my needs in many ways:
- URL doesn’t change when you click a button
- During development, the HTML code is kept in a well-formatted separate header file. When uploaded to ESP, the HTML is stored in Flash memory using the Arduino Flash memory routines. When the program runs, the HTML is read in to RAM when needed. Many examples online that do this use the SPIFF file system instead of Arduino Flash memory routines. SPIFF requires separate manual uploads from the computer to the ESP. I didn’t want to learn that in this project, I already had too many things that could go wrong
- CSS styles in the header – I knew I didn’t want to download online (Bootstrap or similar) CSS definitions to my ESP at runtime. Because then it will fail if there’s no Internet connection. One of the reasons to do this project to begin with, was to make it suffice with a local network
The circuits4you code is a bit hard to understand, partly because there are about 10 different variables and handlers with similar names, partly because of the involved parallel code structures in HTML, Javascript and C. That’s why people hate web development. Also there were some small errors in the code :) Anyone who has done some HTML can probably spot this one:
server.send(200,”text/plane”, ledState); //Send web page
It’s not like we’re going to send an airplane to the web server. Also, data stored in Flash memory can’t be read into a C String variable like this:
String s = MAIN_page; //Read HTML contents
I changed it to:
String s = FPSTR(MAIN_page); //Read HTML contents
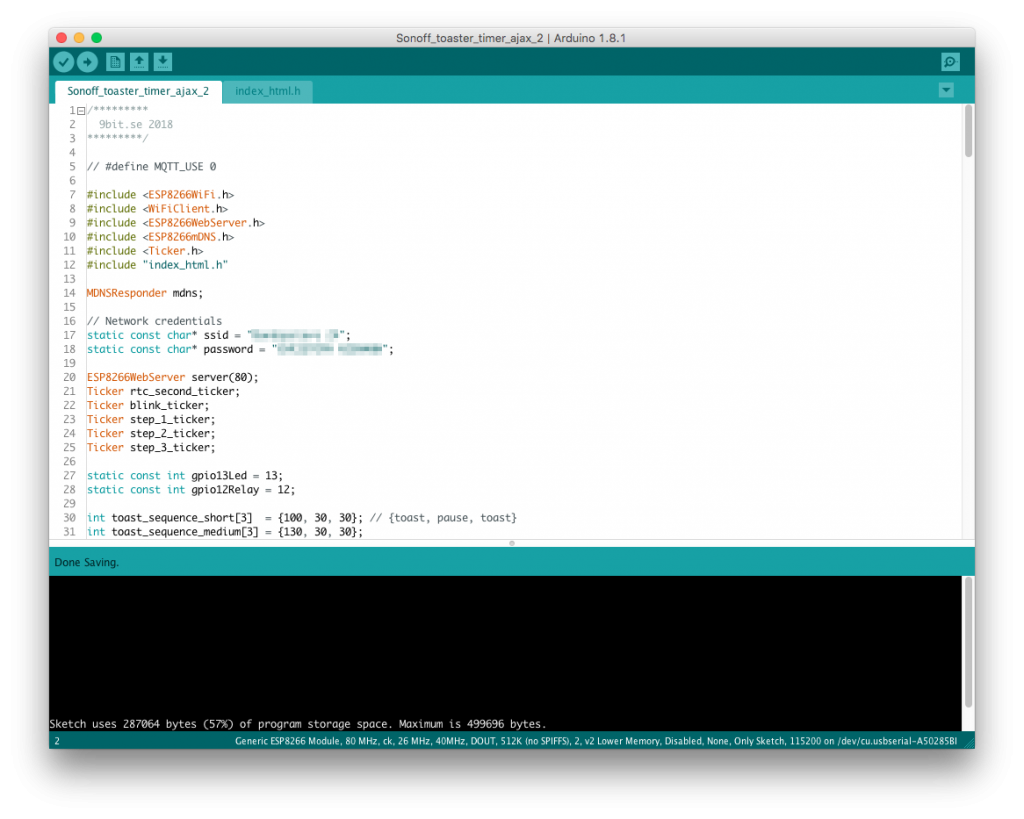
Here’s the finished ESP8266 code, which is actually an Arduino sketch. It could be optimized a bit, and the States and Steps could be better clarified but still
/*********
  9bit.se 2018
*********/

// #define MQTT_USE 0

#include <ESP8266WiFi.h>
#include <WiFiClient.h>
#include <ESP8266WebServer.h>
#include <ESP8266mDNS.h>
#include <Ticker.h>
#include "index_html.h"

MDNSResponder mdns;

// Network credentials
static const char* ssid = "XXXXXX";
static const char* password = "YYYYYY";

ESP8266WebServer server(80);
Ticker rtc_second_ticker;
Ticker blink_ticker;
Ticker step_1_ticker;
Ticker step_2_ticker;
Ticker step_3_ticker;

static const int gpio13Led = 13;
static const int gpio12Relay = 12;

int toast_sequence_short[3]  = {100, 30, 30}; // {toast, pause, toast}
int toast_sequence_medium[3] = {130, 30, 30};
int toast_sequence_long[3]   = {160, 30, 30};
int toast_sequence_extra[3]  = {0, 0, 30};
int *sequence;

int seconds; // Counting the progress of a toast sequence

String state_name;


// ---- Ticker callbacks: ----

void led_blink()
{
  digitalWrite(gpio13Led, !digitalRead(gpio13Led));  //LED blink
}


void add_second() {
    seconds++;
}


// ---- The toast program. Step durations stored in "toast_sequences" ----
// ---- Some of these functions are also ticker callbacks ----

void begin_toast()
{
  seconds = 0;
  toast_step_1();
}


void toast_step_1()
{
  digitalWrite(gpio13Led, LOW);  //LED on
  digitalWrite(gpio12Relay, HIGH);
  step_1_ticker.attach(sequence[0], toast_step_2);
  rtc_second_ticker.attach(1, add_second);
}


void toast_step_2() // Pause
{
  digitalWrite(gpio13Led, HIGH);  //LED off
  digitalWrite(gpio12Relay, LOW);
  // blink timer here!!
  step_1_ticker.detach();
  step_2_ticker.attach(sequence[1], toast_step_3);
  blink_ticker.attach(0.5, led_blink);
}


void toast_step_3()
{
  digitalWrite(gpio13Led, LOW);  //LED on
  digitalWrite(gpio12Relay, HIGH);
  step_2_ticker.detach();
  blink_ticker.detach();
  step_3_ticker.attach(sequence[2], toast_step_4);
}


void toast_step_4()
{
  // End of program
  step_3_ticker.detach();
  rtc_second_ticker.detach();
  state_name = "Stop";
  digitalWrite(gpio13Led, HIGH);  //LED off
  digitalWrite(gpio12Relay, LOW);
}


void end_toast()
{
  state_name = "Stop";
  digitalWrite(gpio13Led, HIGH);  //LED off
  digitalWrite(gpio12Relay, LOW);
  step_1_ticker.detach();
  step_2_ticker.detach();
  step_3_ticker.detach();
  blink_ticker.detach();
  rtc_second_ticker.detach();
}


// ---- Handlers initiated by http requests ----

void handleRoot() // Serve Index.html, as defined in Flash memory
{
  String s = FPSTR(index_html); //Read HTML contents from Flash memory
  server.send(200, "text/html", s); //Send web page
}


void handle_progress() // Web page wants to know the width of the progress bar
{
  float percent = 0;
  float len = float(sequence[0] + sequence[1] + sequence[2]);

  if(len > 0) percent = 100 * float(seconds + 1) / len;
  if(percent > 100) percent = 100;
  if(state_name == "Stop") percent = 0;  // Reset the progres bar

  String progress = String(percent);

  server.send(200, "text/plain", progress);
}


void handle_action() // Web page button click selects toast sequence
{
  String s = server.arg("action");
  int server_action_state = s.toInt();

  if(state_name == "Stop") {

    switch (server_action_state) {
      case 1:
        {
          sequence = toast_sequence_short;
          begin_toast();
          state_name = "Short";
          break;
        }
      case 2:
        {
          sequence = toast_sequence_medium;
          begin_toast();
          state_name = "Medium";
          break;
        }
      case 3:
        {
          sequence = toast_sequence_long;
          begin_toast();
          state_name = "Long";
          break;
        }
      case 4:
        {
          sequence = toast_sequence_extra;
          begin_toast();
          state_name = "Extra";
          break;
        }
      case 0:
      default:
        {}
    }
  } else {
    if(server_action_state == 0) {
      // Stop
      state_name = "Stop";
      end_toast();
    }
  }

  server.send(200, "text/plain", state_name); //Send response to web server
}


// ---- setup, loop ----

void setup(void) {
  state_name = "Stop";
  sequence = toast_sequence_short;

  // preparing GPIOs
  pinMode(gpio12Relay, OUTPUT);
  digitalWrite(gpio12Relay, LOW); // Relay off

  pinMode(gpio13Led, OUTPUT);
  digitalWrite(gpio13Led, LOW);  //LED on

  WiFi.begin(ssid, password);
  Serial.begin(115200);
  delay(1000);

  Serial.println();
  Serial.print("Connecting to ");
  Serial.println(ssid);

  while (WiFi.status() != WL_CONNECTED) {
    delay(500);
    Serial.print(".");
  }

  // Create a static ip adress
  IPAddress static_ip(192, 168, 10, 92);
  IPAddress gateway_ip(192, 168, 10, 1);
  IPAddress subnet_mask(255, 255, 255, 0);
  WiFi.config(static_ip, gateway_ip, subnet_mask);

  Serial.println();
  Serial.println();
  Serial.println("Connected");
  Serial.print("IP address: ");
  Serial.println(WiFi.localIP());

  if (mdns.begin("esp8266", WiFi.localIP())) {
    Serial.println("MDNS responder started");
  }

  server.on("/", HTTP_GET, handleRoot);
  server.on("/select_action", handle_action);
  server.on("/progress_update", handle_progress);

  server.begin();
  Serial.println("HTTP server started");

  digitalWrite(gpio13Led, HIGH);  //LED off
}


void loop(void) {
  server.handleClient();
}
And here’s the code for the HTML page. It needs to sit in a file called index_html.h next to the main sketch file
static const char index_html[] PROGMEM = R"=====(
<!DOCTYPE html>
<html>
<head>
<meta name='viewport' content='width=device-width, initial-scale=1'>
<link rel="stylesheet" href="https://www.w3schools.com/w3css/4/w3.css">
<style>
*{
    box-sizing: border-box;
}
label {
    padding: 12px 12px 12px 0;
    display: inline-block;
}
button {
    background-color: #1080AF;
    color: white;
    width: 100%;
    padding: 32px 20px;
    border: none;
    border-radius: 4px;
    cursor: pointer;
    float: left;
    margin-top: 12px;
    margin-bottom: 12px;
}
button:hover {
    background-color: #00608F;
}
.container {
    border-radius: 5px;
    padding: 20px;
    width: 300px;
}
.row:after {
    content: '';
    display: table;
    clear: both;
}
.progress-container {
	background: #d0d0d0;
}
#progress-bar {
	background:red;
	height:20px;
	width:0;
}
@media screen and (max-width: 600px) {
    container {
        width: 100%;
        min-height: 50px;
    }
}
</style>
</head>

<body>
<div class='container'>
  <div class="progress-container"">
	<div id="progress-bar"></div>
  </div>
  <span id="display"> </span>
  <div class='row'>
    <button type="button" name="Short" onclick="sendData(1)">SHORT (120 + 30s)</button>
  </div>
  <div class='row'>
    <button type="button" name="Medium" onclick="sendData(2)">MEDIUM (160 + 30s)</button>
  <div class='row'>
    <button type="button" name="Long" onclick="sendData(3)">LONG (180 + 30s)</button>
  </div>
  <div class='row'>
    <button type="button" name="Extra" onclick="sendData(4)">EXTRA (30s)</button>
  </div>
  <div class='row'>
    <button type="button" name="Stop" onclick="sendData(0)">STOP</button>
  </div>
</div>
</body>

<script>
function sendData(data) {
  var xhttp = new XMLHttpRequest();
  xhttp.onreadystatechange = function() {
    if (this.readyState == 4 && this.status == 200) {
      // document.getElementById("display").innerHTML = this.responseText;
      if(this.responseText == "Stop") {
        var elem = document.getElementById("progress-bar");
        elem.style.width = '0%';
      }
    }
  };
  xhttp.open("GET", "select_action?action="+data, true);
  xhttp.send();
}

setInterval(function() {getData();}, 2000); //2000 mSeconds update rate

function getData() { // The progress bar
  var xhttp = new XMLHttpRequest();
  xhttp.onreadystatechange = function() {
    if (this.readyState == 4 && this.status == 200) {
  	  var elem = document.getElementById("progress-bar");
      elem.style.width = this.responseText + '%';
    }
  };
  xhttp.open("GET", "progress_update", true);
  xhttp.send();
}
</script>
</html>
)=====";
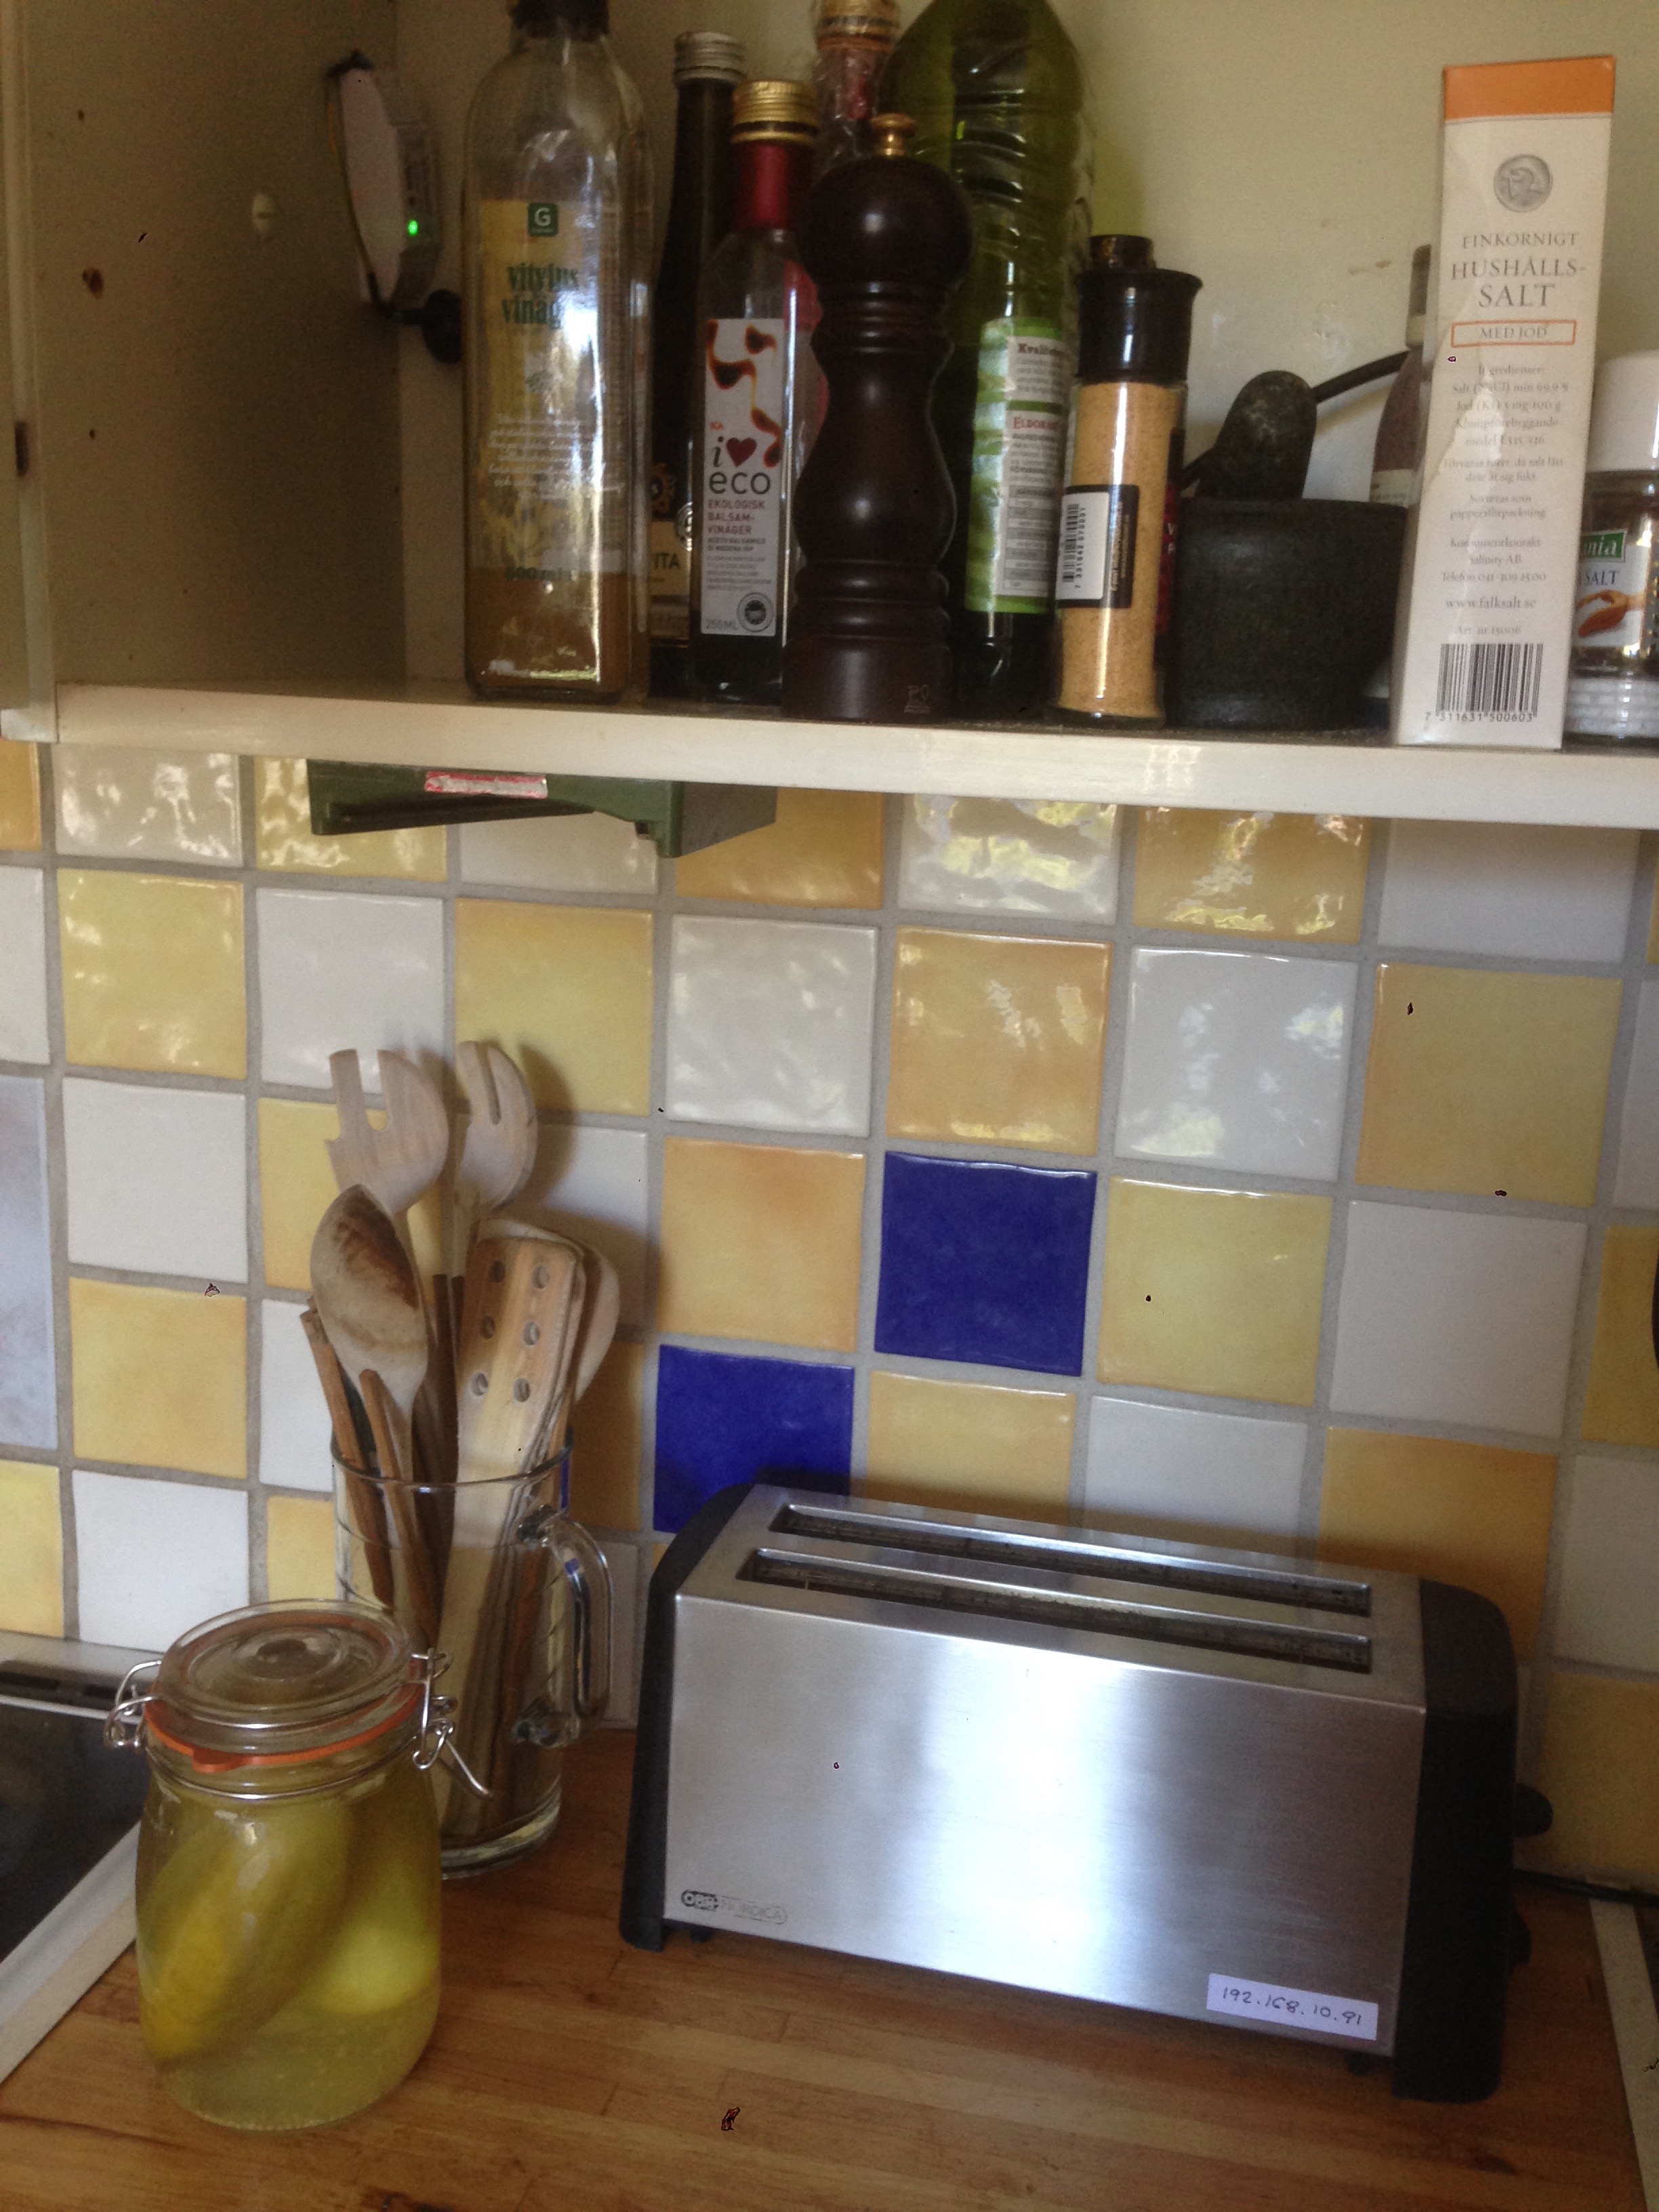
Toasting
Upper Left is the Sonoff. The Green Led shows the state: On for Toast, Flashing green for Pause
Helpful links
Reprogram Sonoff Smart Switch with Web Server
https://randomnerdtutorials.com/reprogram-sonoff-smart-switch-with-web-server/
ESP8266 ajax – update part of web page without refreshing
https://circuits4you.com/2018/02/04/esp8266-ajax-update-part-of-web-page-without-refreshing/
ESP8266 Timer / ticker examples
https://circuits4you.com/2018/01/02/esp8266-timer-ticker-example/