Background
There are no tuning instructions in the service manual. The trimmers have unusual names, so it’s not obvious what do when opening it up. Here you go:
What you need
- A tuner that shows what note you’re playing, such as a guitar tuner. I use the Peterson Strobostomp.
- Digital voltmeter (DVM) for Keyboard CV tuning
- Ordinary small screwdriver
- Speakers
Preparations
- Turn on your 110F, wait 10 minutes for warm-up
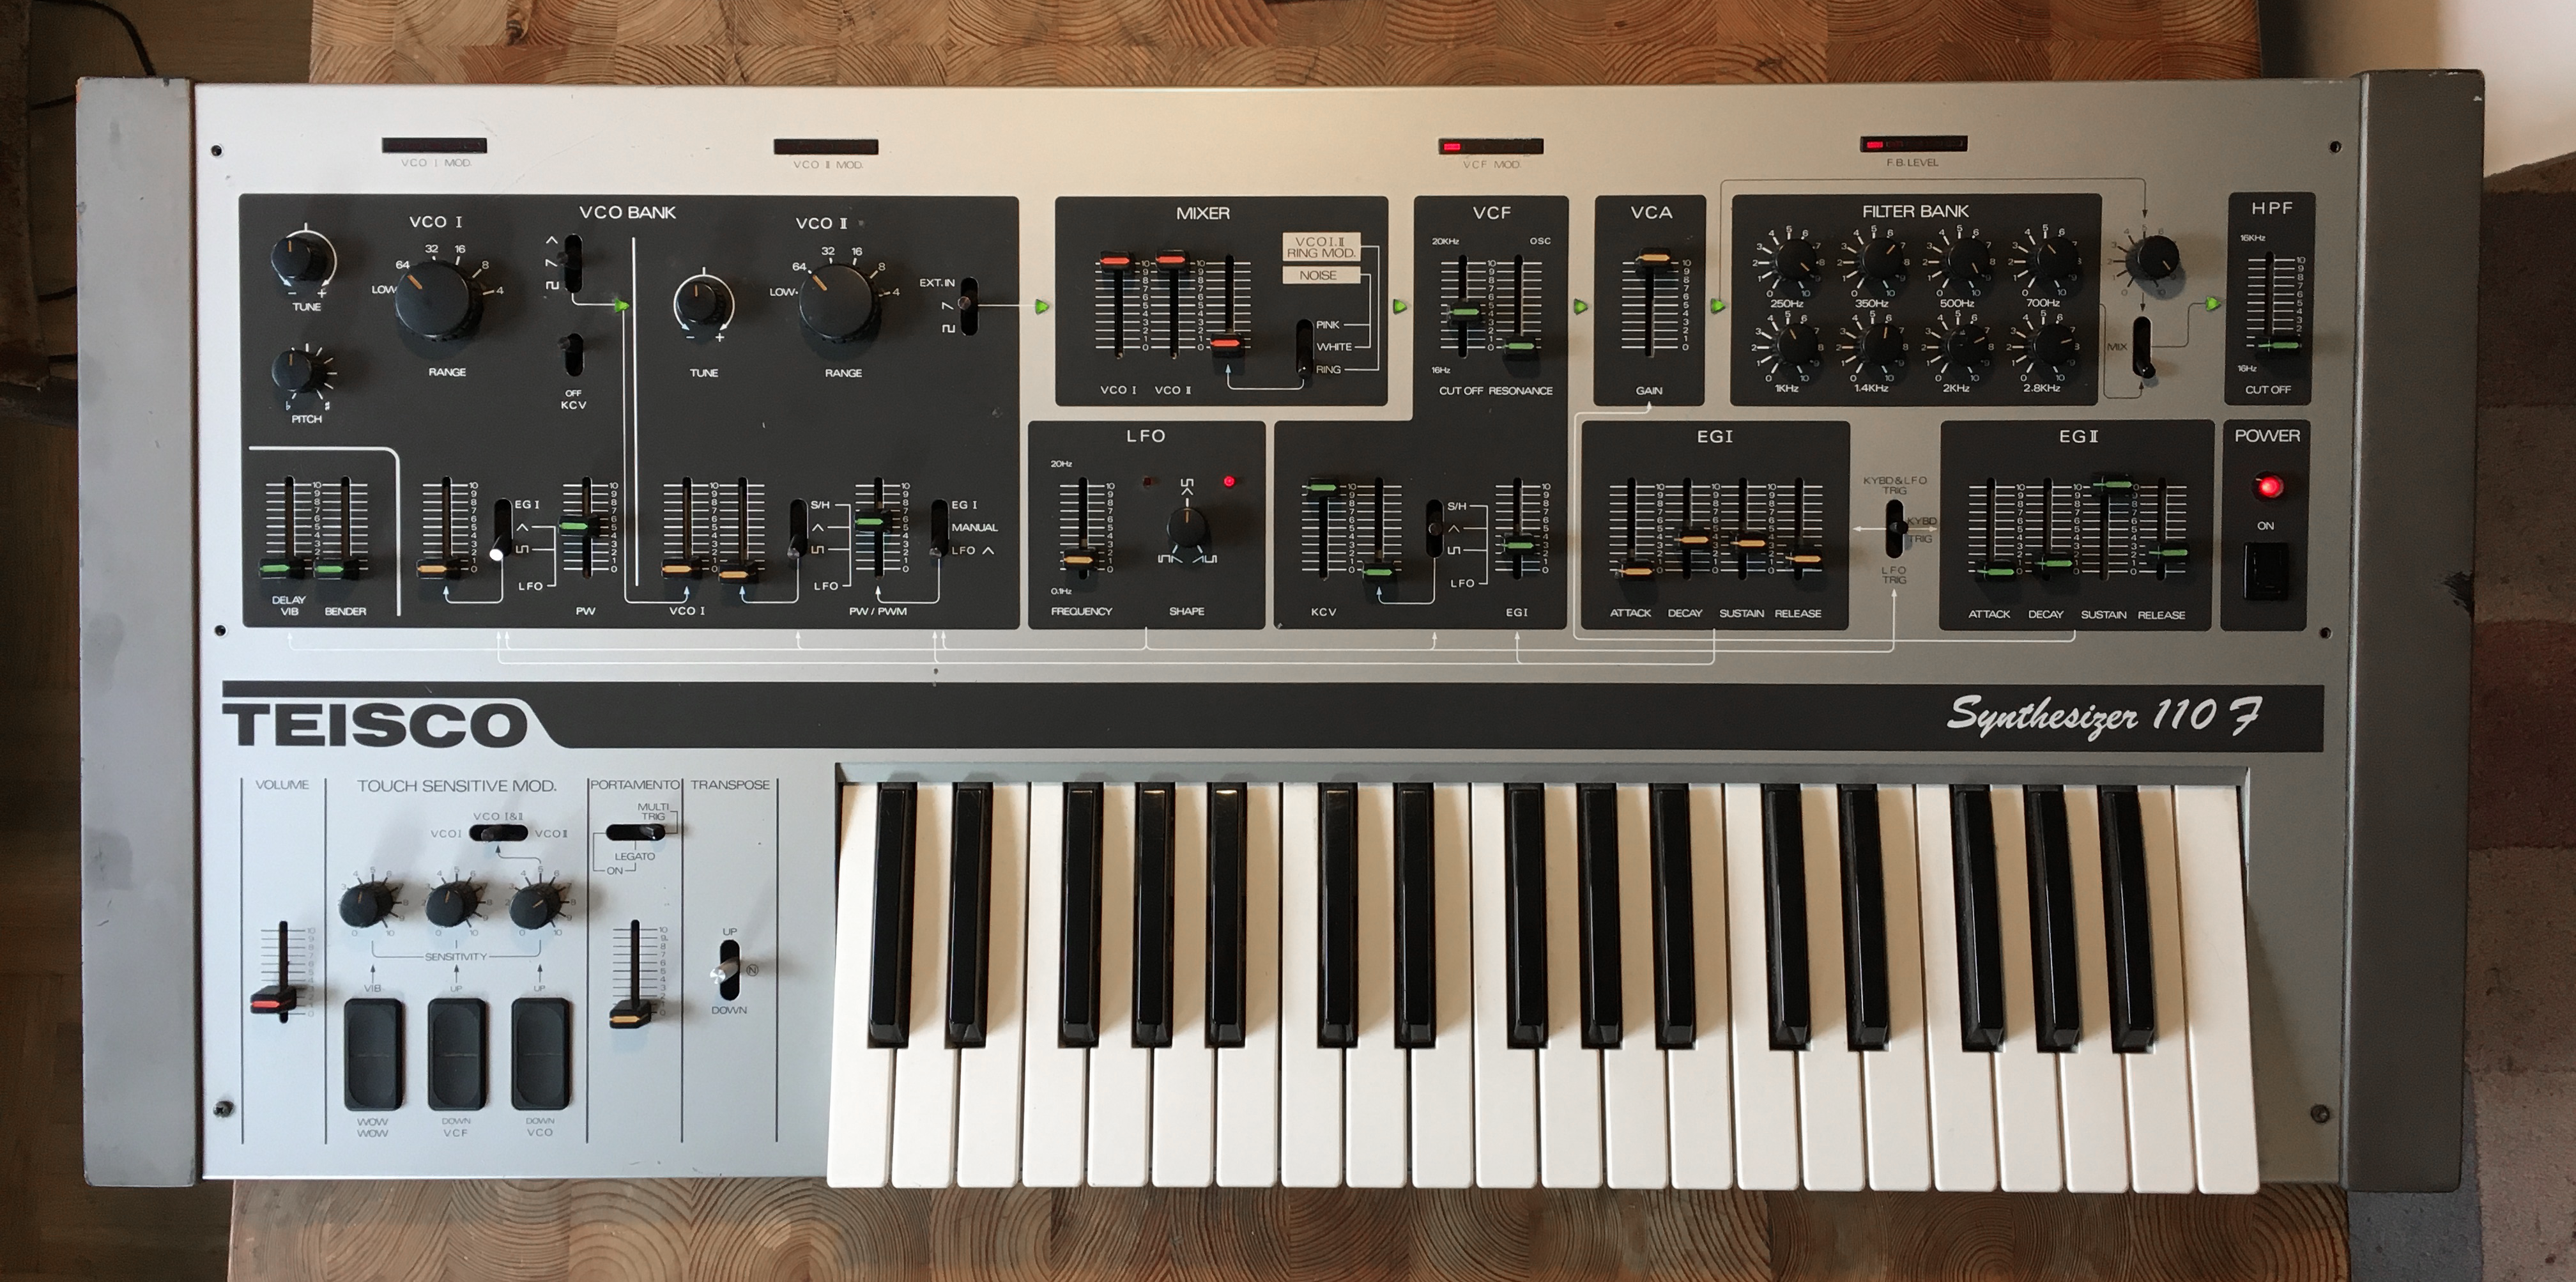
- Center OSC I Tune and Pitch controls, lower pitch modulation to 0. Select Saw waveform, set Range = 64′
- Center OSC II Tune control, lower pitch modulation to 0. Select Saw waveform, set Range = 64′
- Low-Pass Filter: Cutoff = 10, Resonance = 0, High-Pass Filter Cutoff = 0
- Transpose switch = Normal
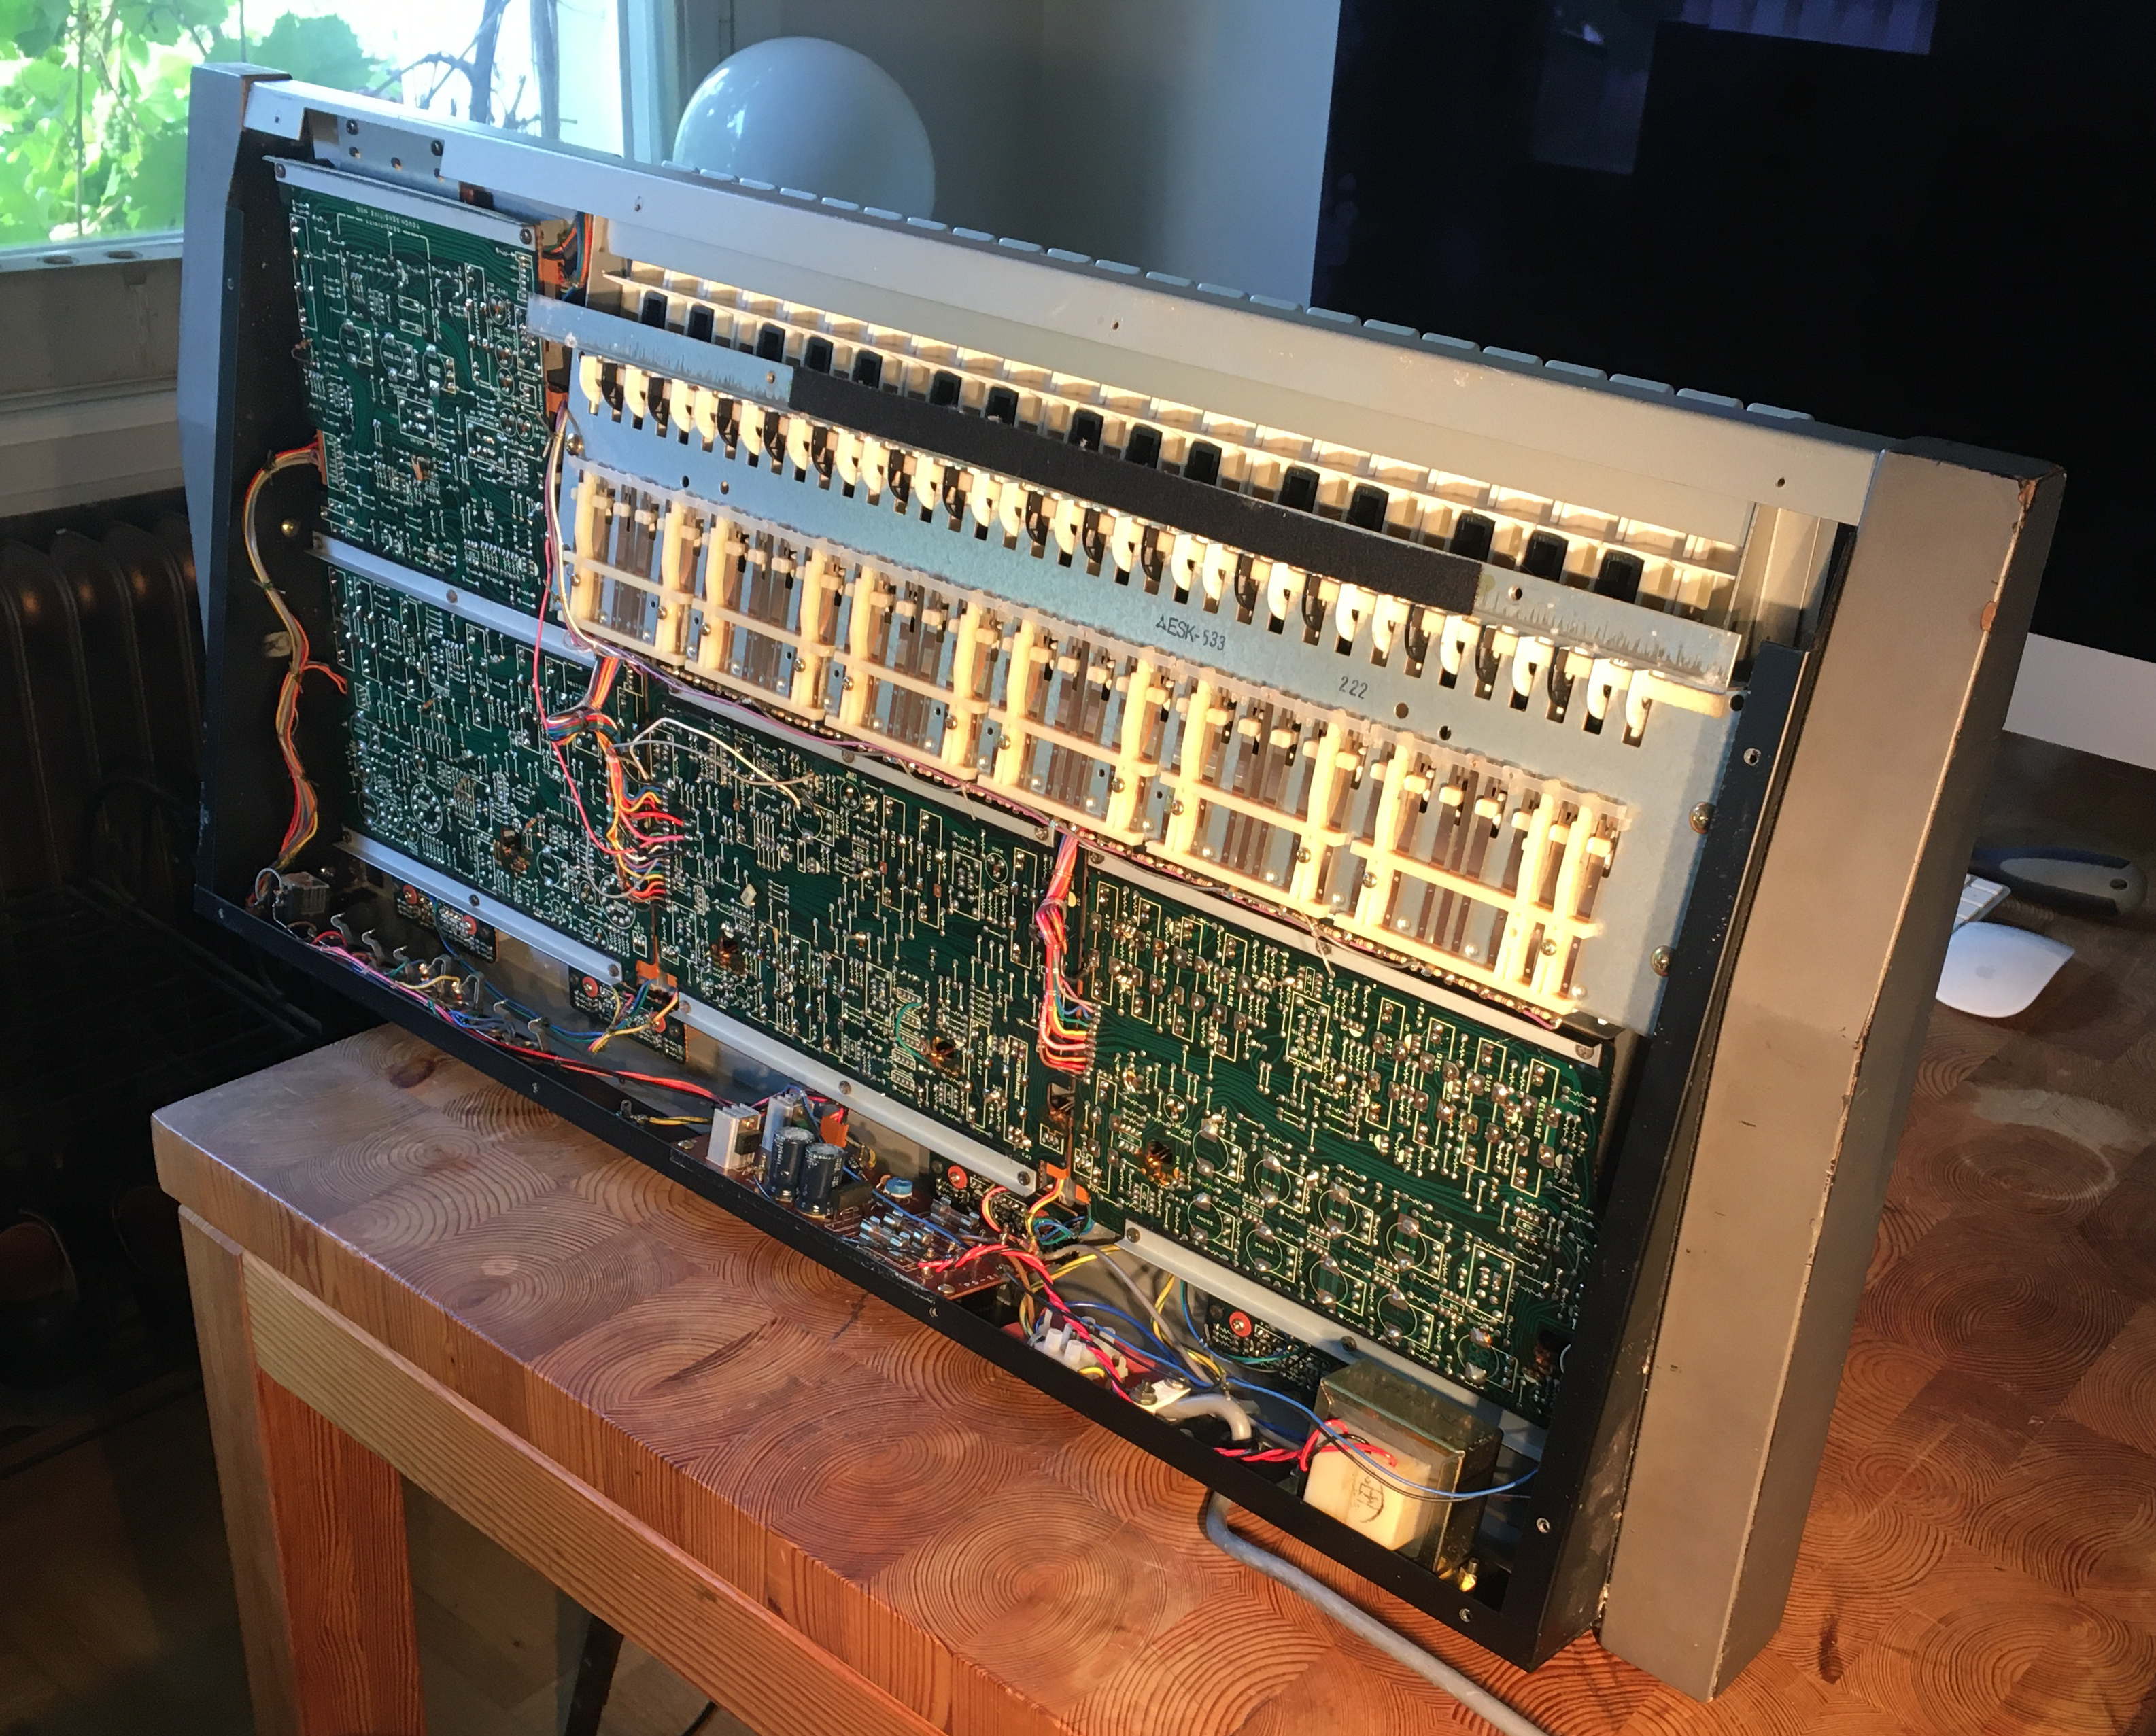
- Put the 110F face down but not lying on the sliders (for example resting on two wooden blocks under the ends)
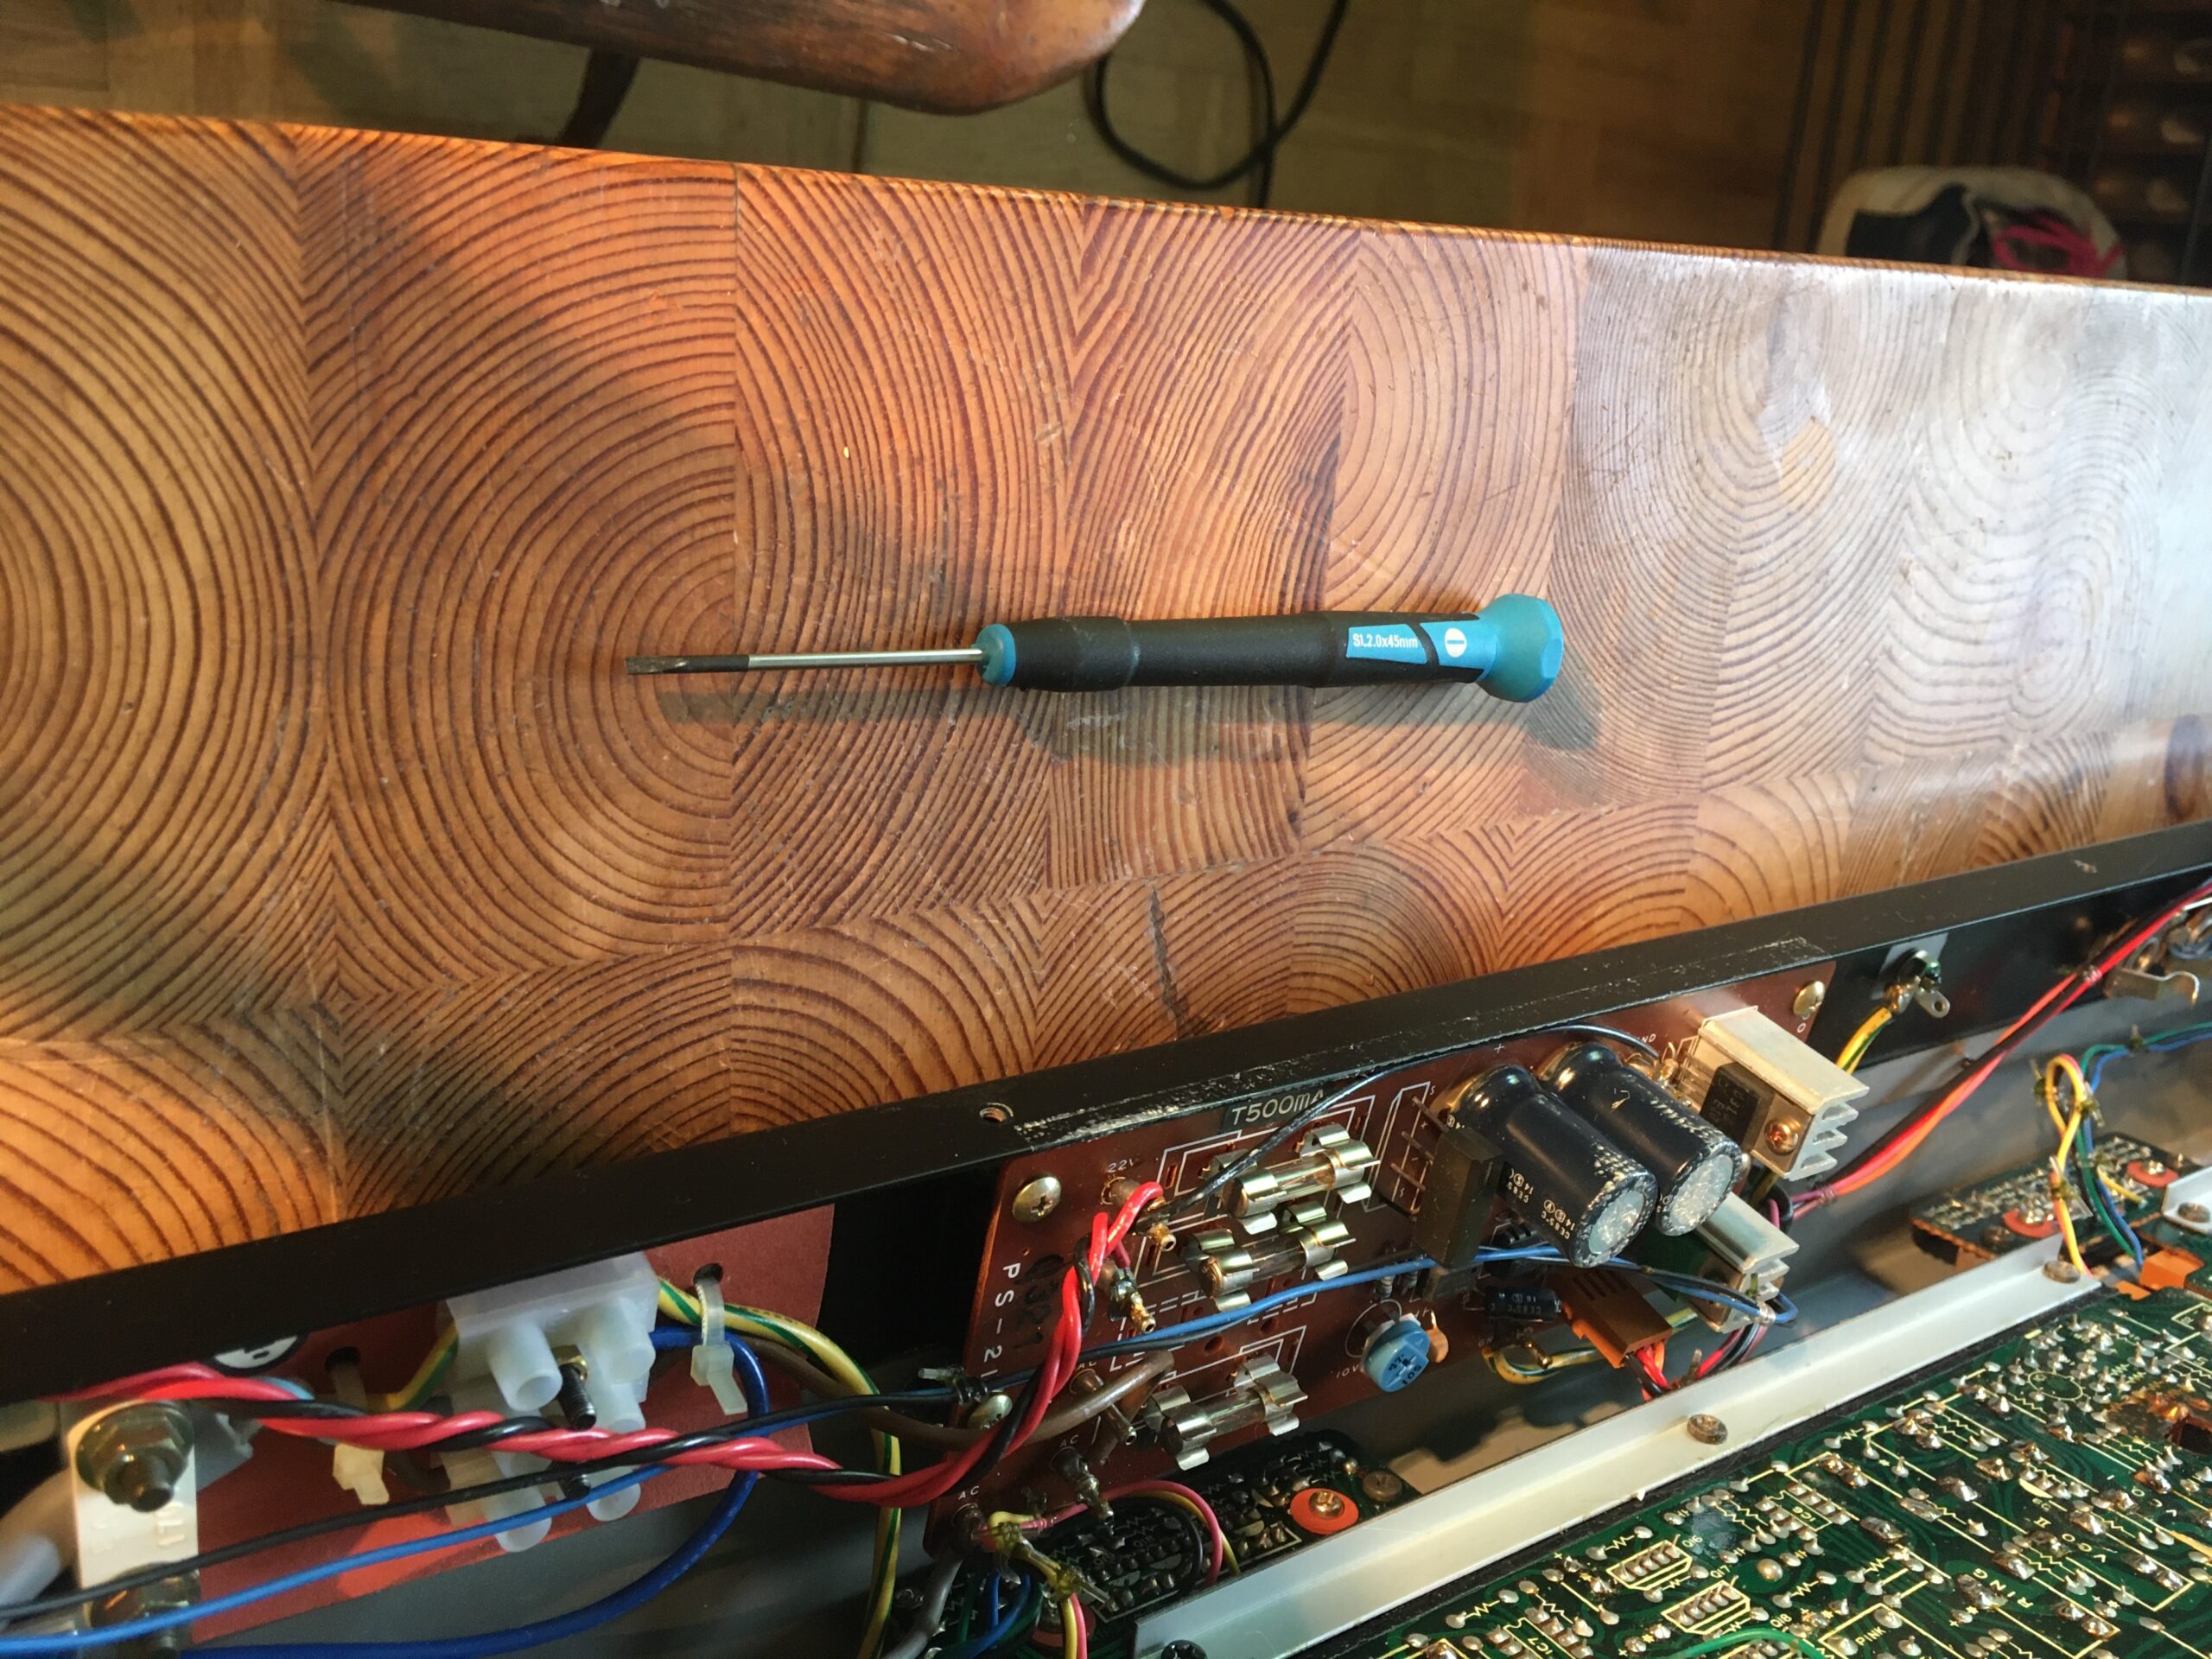
- Unscrew the bottom plate
- Put it on a table, standing up on the back. It looks dangerous, but it can stand like that. The idea is to be able to access front panel controls and trimmers on the PCB at the same time.
- Place it so the left end sticks out from the table, so you can insert an audio cable to your tuner and sound system.
Step by Step
Step 1 – Keyboard CV
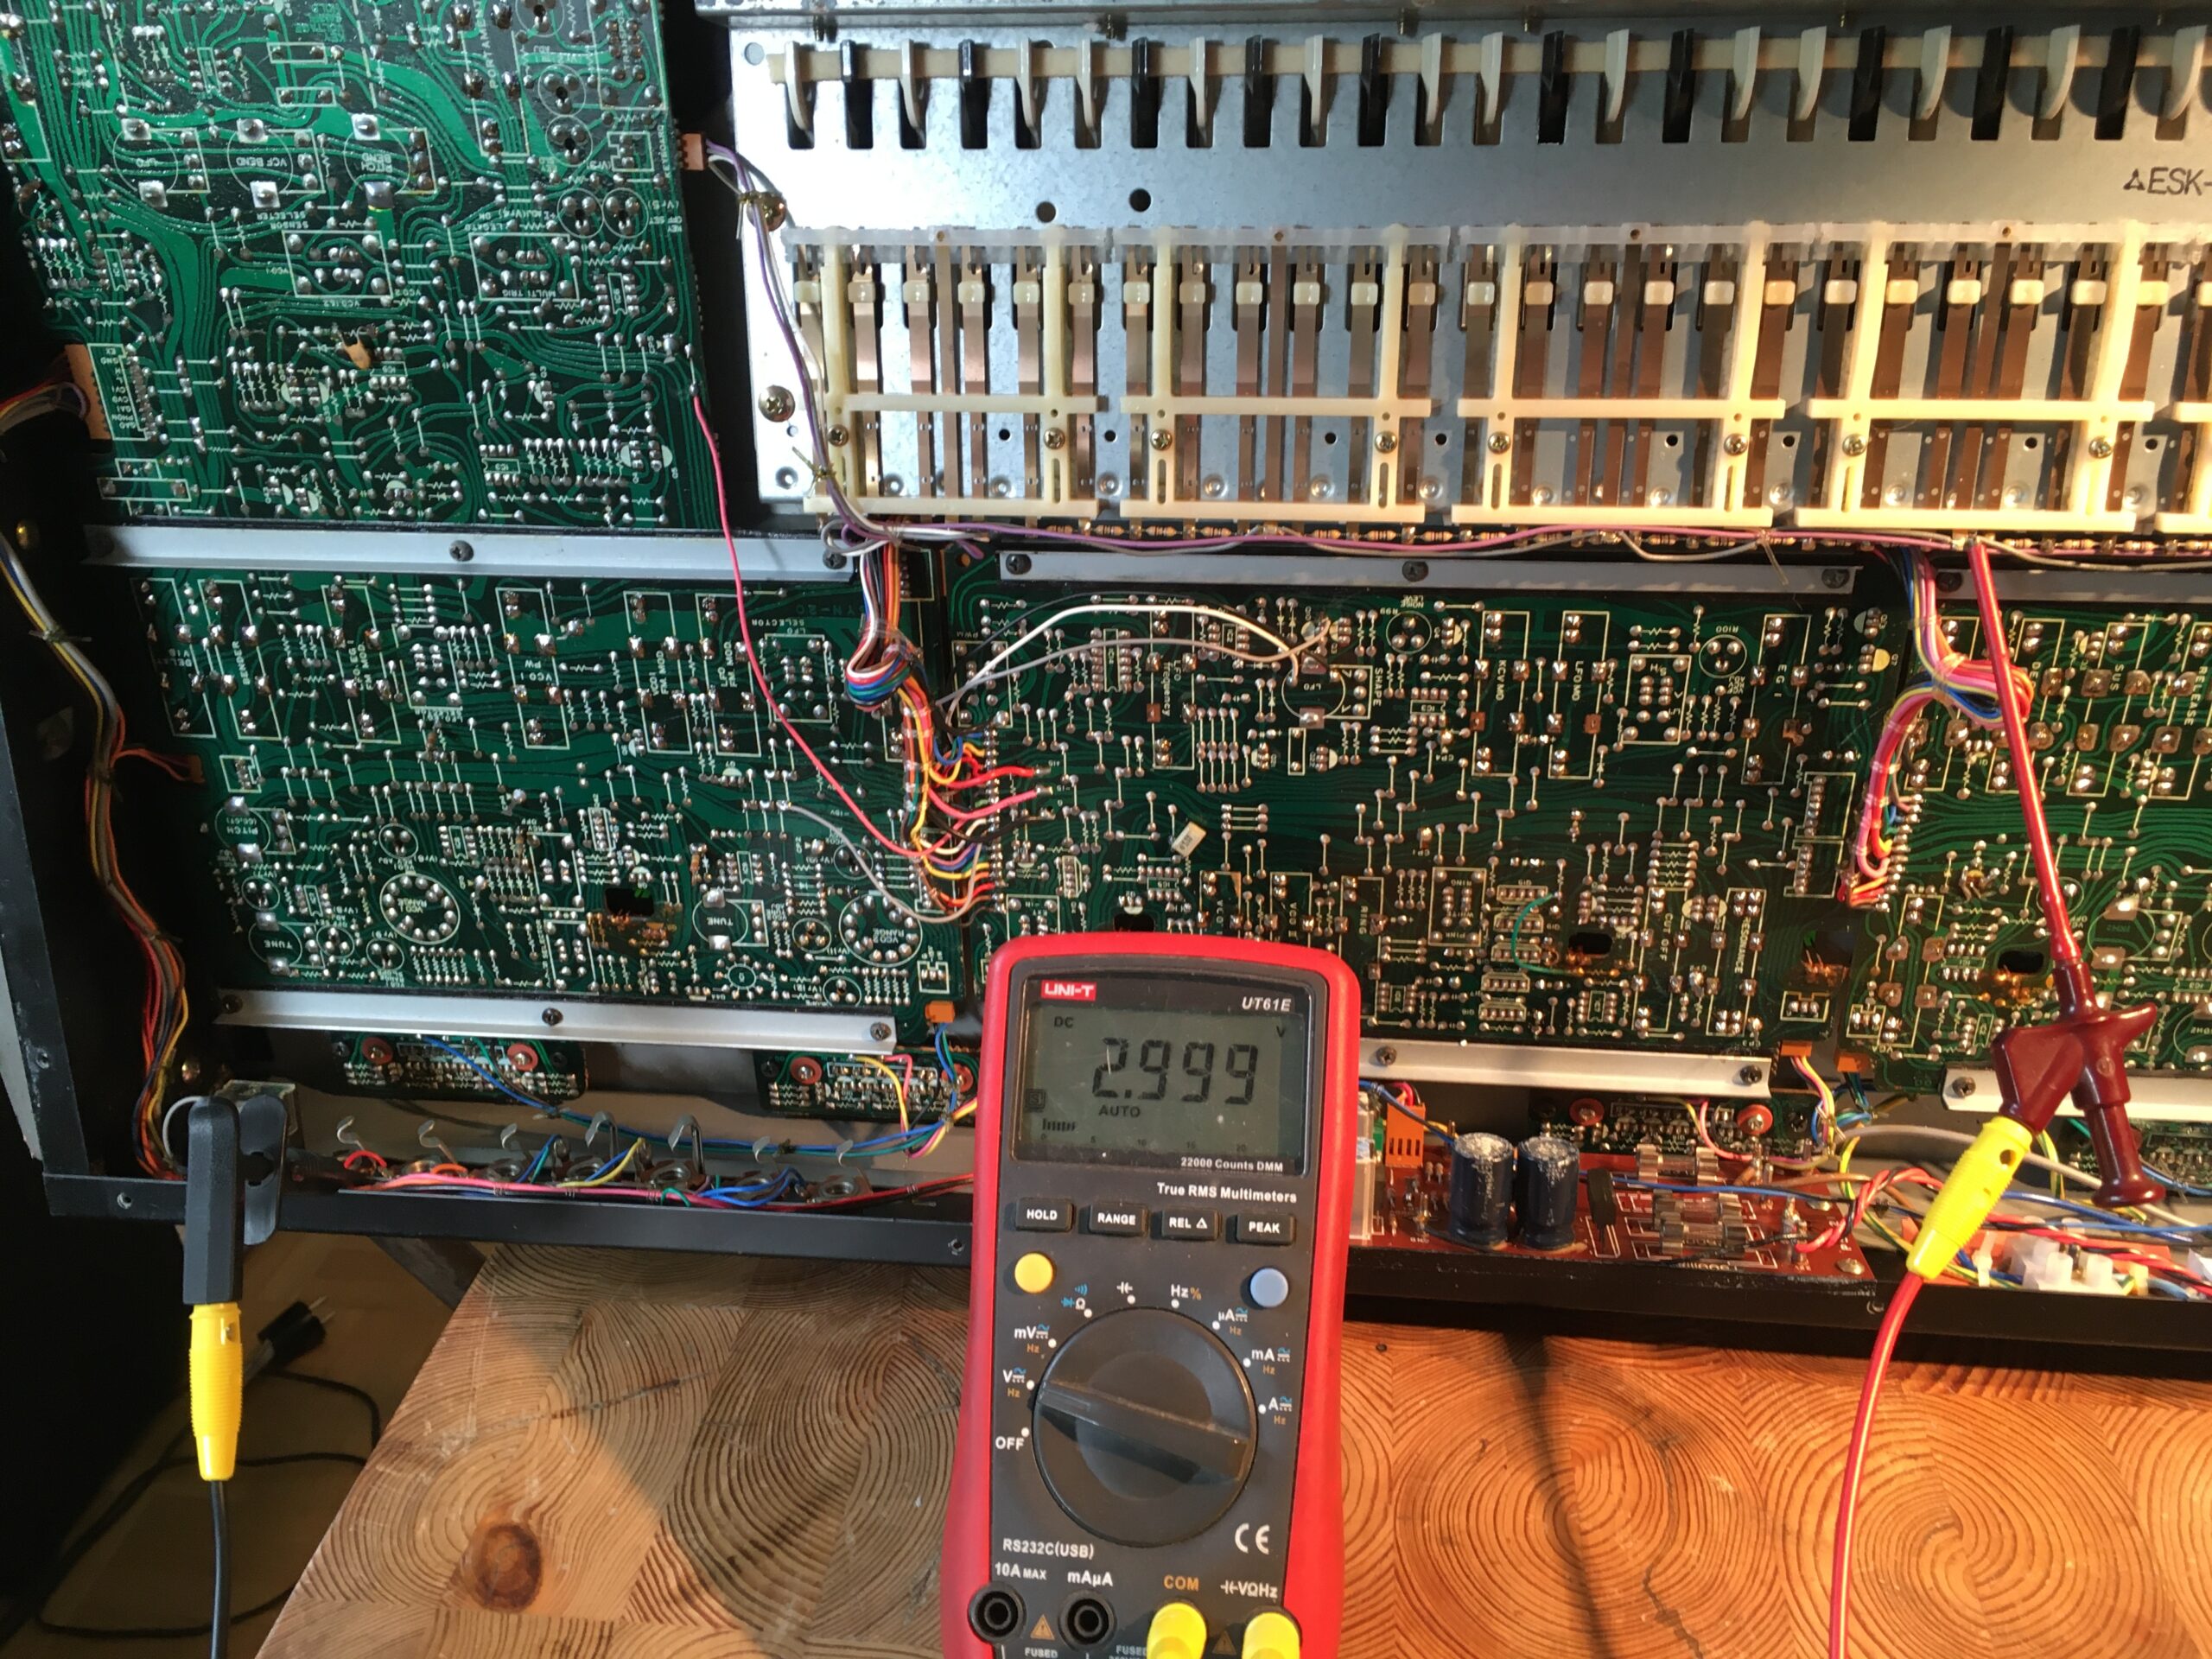
Connect the positive lead of your DVM (using a hook clip) somewhere on the grey wire just under the keyboard keys. There are many places to connect. Connect the DVM ground lead to GND. I used the GND bus bar wire between the High and Low audio output jacks
- Hold highest C. Adjust VR 5 / KEY OFFSET until DVM reads 3.000 volts
- Hold lowest C. Adjust VR 3 / KEY SCALE until DVM reads 0.000 V
- Repeat until both are within a mV
Step 2 – Front Panel Range Switch VCO I
This is the slightly longer and “safer” procedure. Have a look at “Range Switch VCO II” for the faster one.
VCO I and VCO II Range switches are at 64′ right? Set VCO I Mixer slider to 10, VCO II and Noise sliders to 0
- Tape down lowest C, check your tuner. Remember the exact pitch, it doesn’t matter if it’s not exactly C.
- Switch OSC I Range to 32′. How does it compare to 64′ pitch?
- If Range 32′ is more than one octave above 64′: turn VR 9 – VCO I RANGE SLOPE counterclockwise
- If Range 32′ is less than one octave above 64′: turn VR 9 – VCO I RANGE SLOPE clockwise
- Go back to 64′. If it has changed, remember the new 64′ pitch
- Repeat until the interval is exactly one octave
- When it’s OK, turn Range switch to 16′ and Compare it to 64′
- Use VR 9 again, to get exactly two octaves between 64′ and 16′
- Keep going upwards, comparing each octave to 64′, trimming with VR9*
* I found it easier to do it successively like this, instead of immediately comparing a span of several octaves. That’s possibly because I had to figure out how it worked while actually trimming.
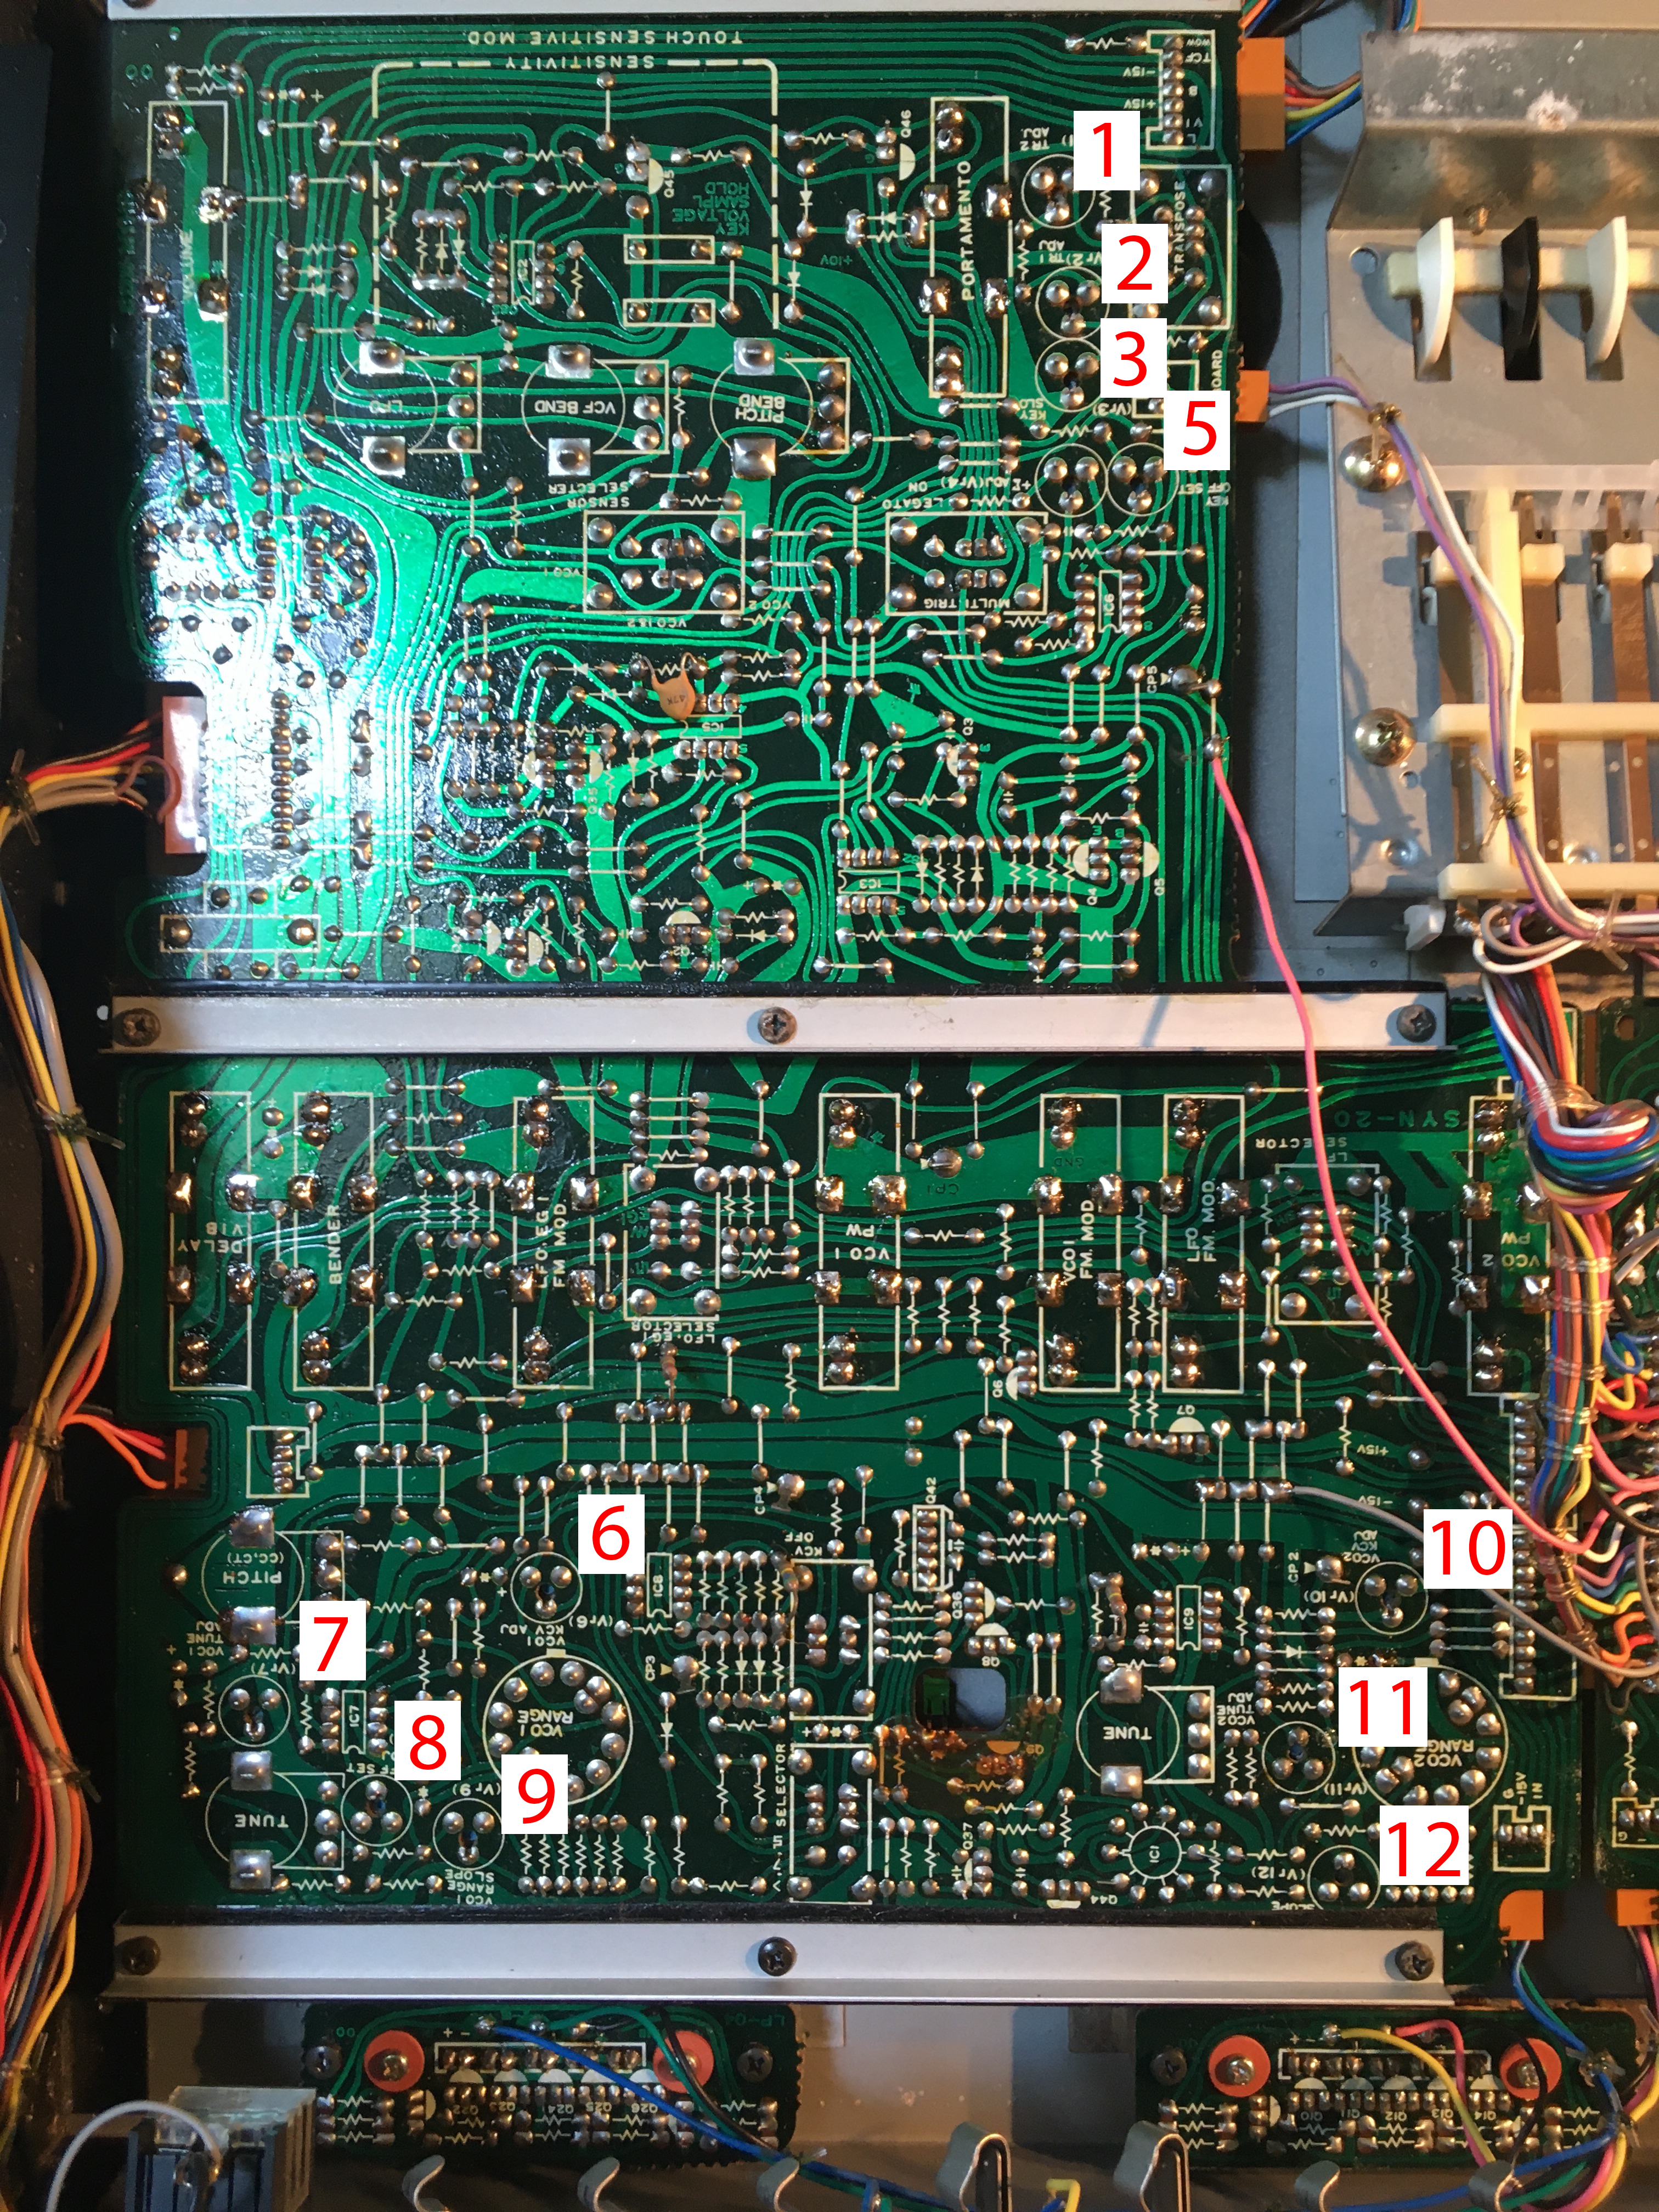
Step 3 Tuning VCO I
On the Teisco 110F, the Offset trimmer is called KCV ADJ and Scale / Width is called TUNE ADJ
- Set front panel Range switch to 64′
- Hold highest C and turn VR 6 / VCO I KCV ADJ until your tuner reads C
- Hold lowest C and turn VR 7 / VCO I TUNE ADJ until your tuner reads C
- Repeat until it does not improve anymore
Step 4 Range Switch VCO II
Set VCO Mixer slider = 0, VCO II Mixer slider = 10
- Tape down lowest C, check your tuner. Remember the exact pitch, it doesn’t matter if it’s not exactly C.
- Switch OSC I Range to 4′. How does it compare to 64′ pitch?
- If Range 32′ is slightly more than four octaves above 64′: turn VR 9 – VCO I RANGE SLOPE counterclockwise
- If Range 32′ is slightly less than four octaves above 64′: turn VR 9 – VCO I RANGE SLOPE clockwise
- Go back to 64′. If it has changed, remember the new 64′ pitch
- Repeat until the interval is exactly four octaves
Step 5 Tuning VCO II
- Set front panel Range switch to 64′
- Hold highest C and turn VR 6 / VCO I KCV ADJ until your tuner reads C
- Hold lowest C and turn VR 7 / VCO I TUNE ADJ until your tuner reads C
- Repeat until it does not improve anymore
Step 6 Transpose Switch
Set VCO II Range to 32′. Change the Transpose switch up and down. If the tuner doesn’t read exactly one octave up and down, adjust trimmers 1 and 2 respectively.
Conclusion
It should be possible to get a very accurate tuning over a range of five octaves or more. It’s one of the most exact ’80s mono synths I’ve serviced so far.